Taro Hash Patty

raw taro
5 or more T. butter, divided
3/4 pound local, if possible, ground beef
1 medium sweet onion, peeled and diced
2 green onions, chopped
1 large carrot, peeled and grated
1/2 tsp. Hawaiian salt
1 large or various sized taro to equal about 1 pound, boiled or steamed until soft (about 20 or more minutes), peeled and mashed
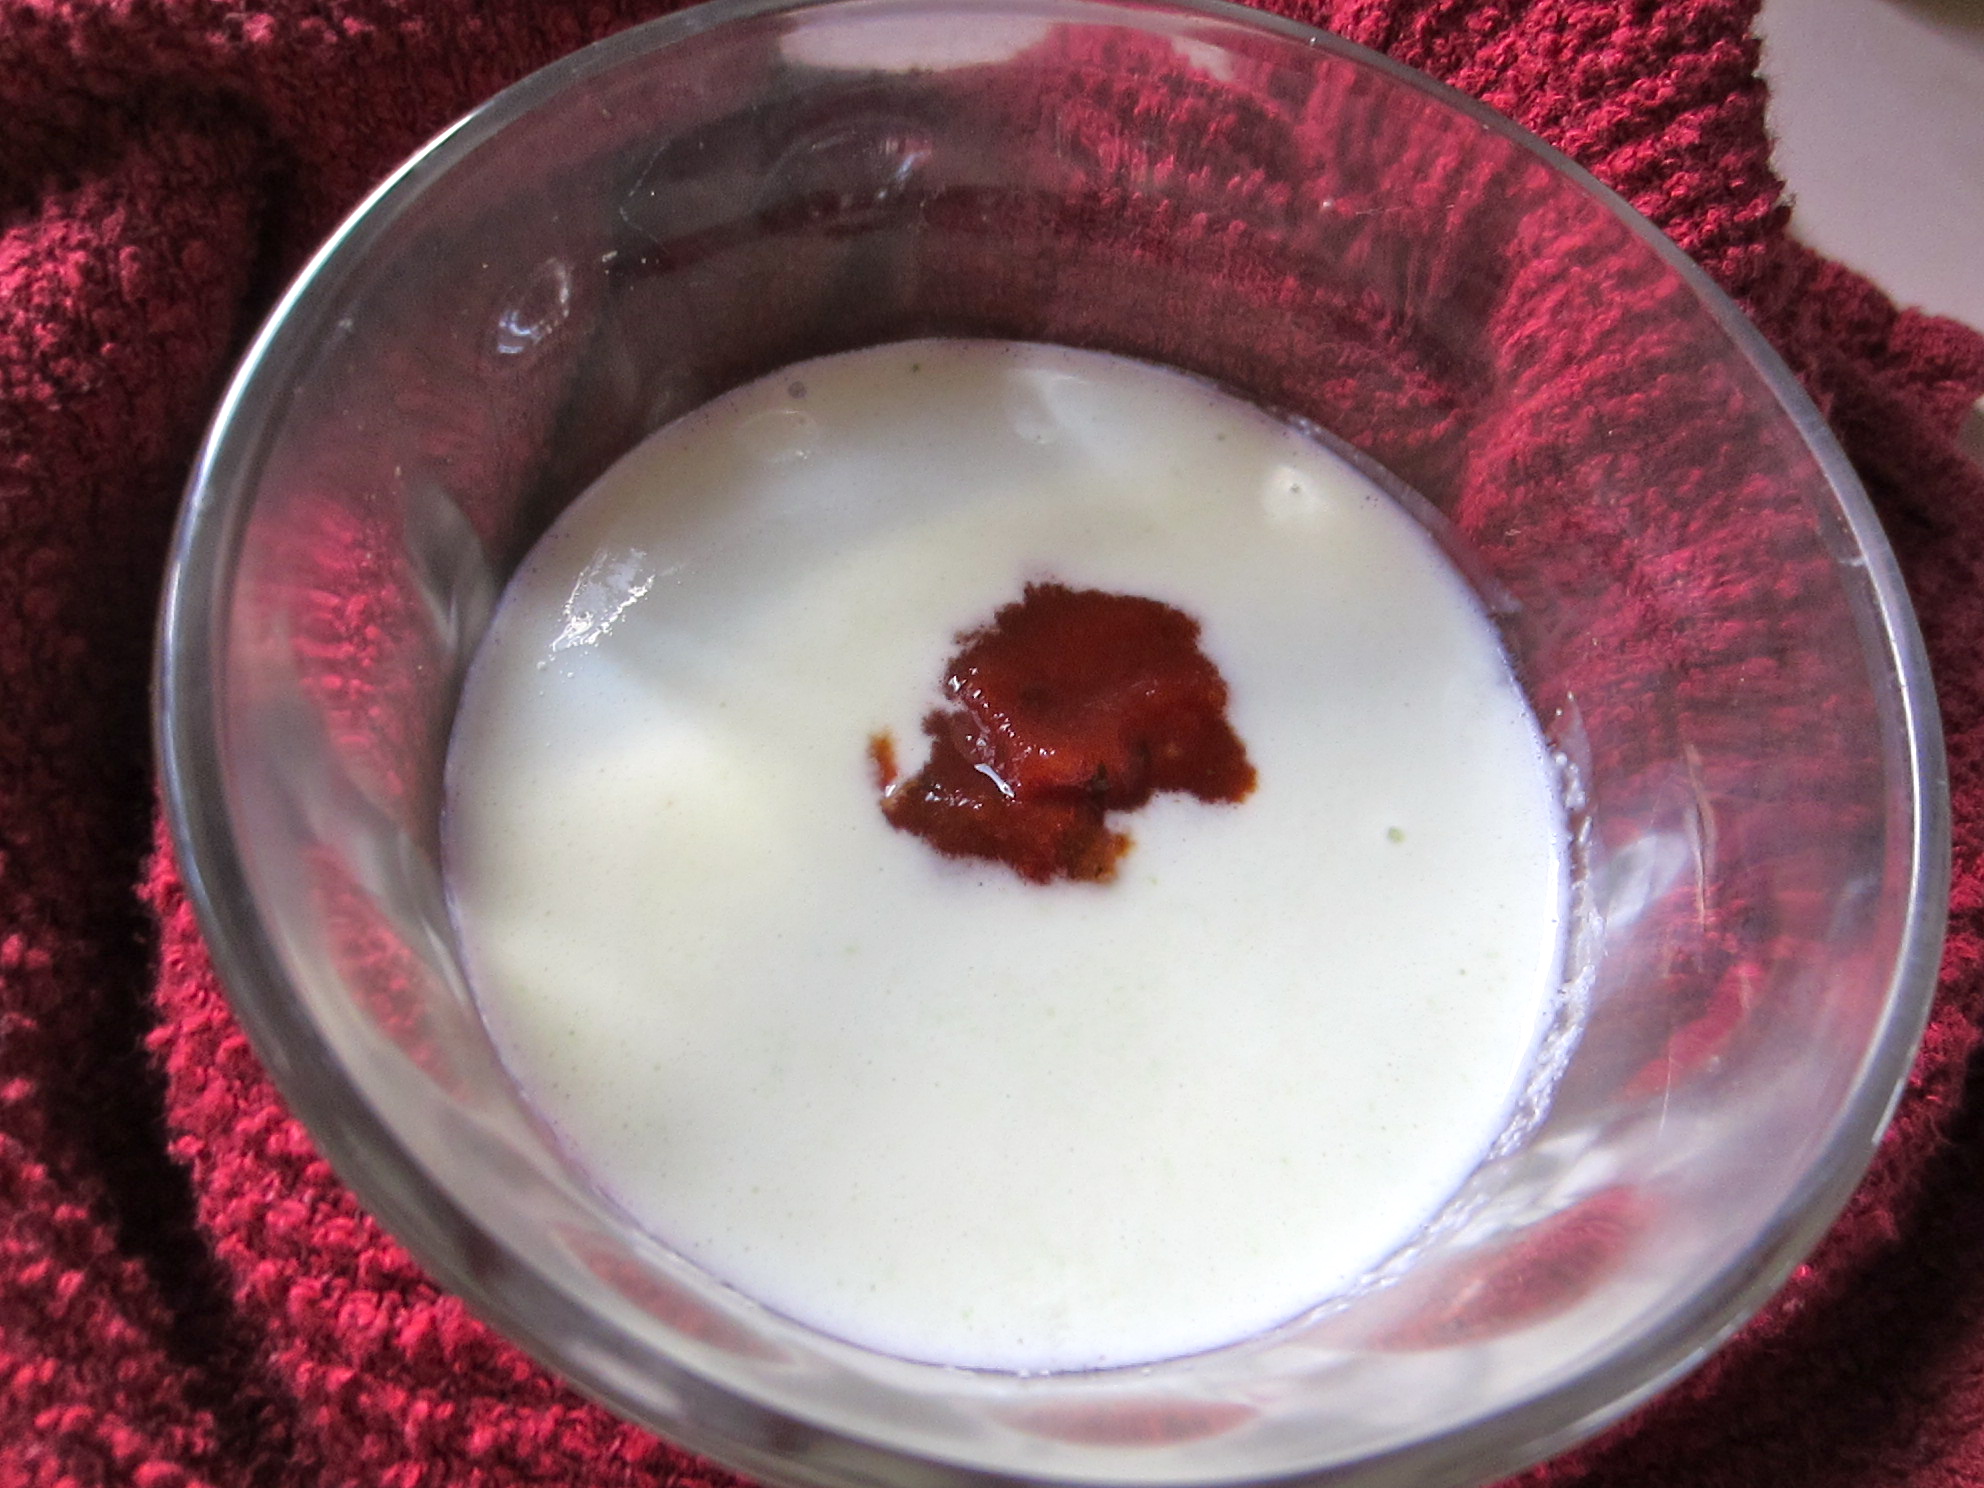
1 egg

Adapted from The Electric Kitchen (Hawaiian Electric Co.), Honolulu Star Advertiser, 9/12/12

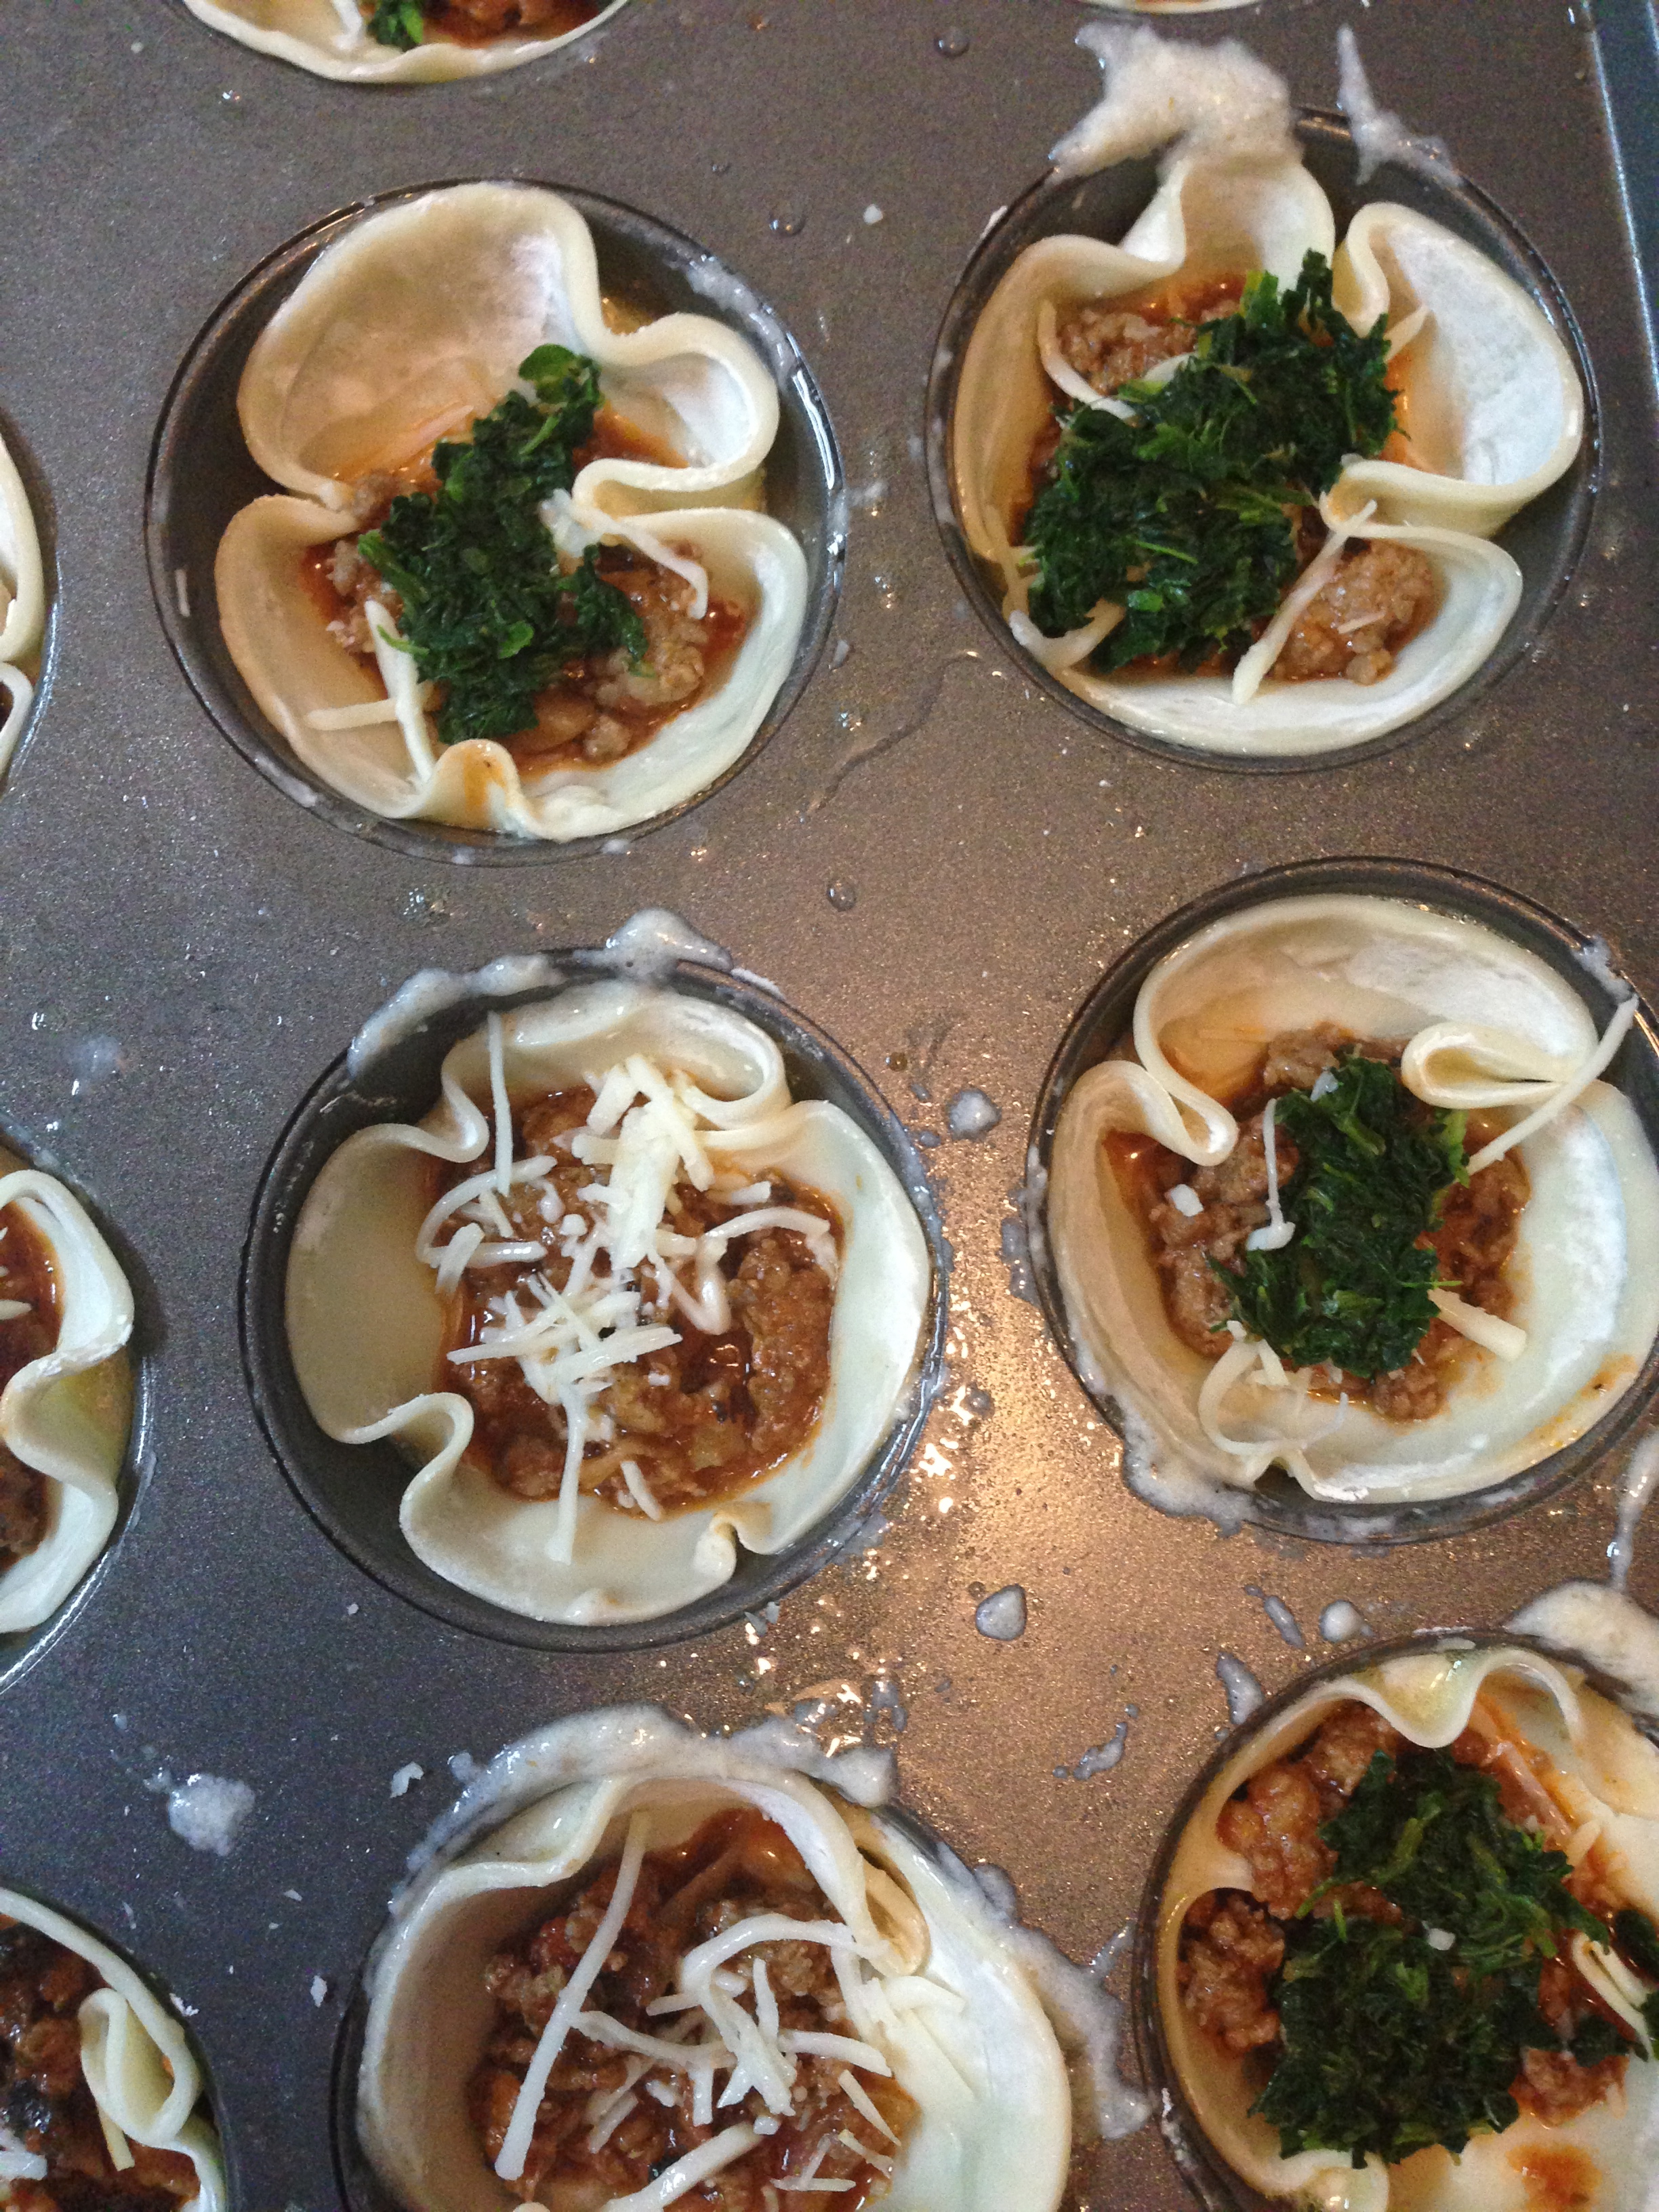
In saute pan over medium heat, melt 2 T. butter. Add ground beef, onions, green onions, carrot, and salt, taro prepand cook 5 to 7 minutes. Drain any liquid in pan and set aside to cool.

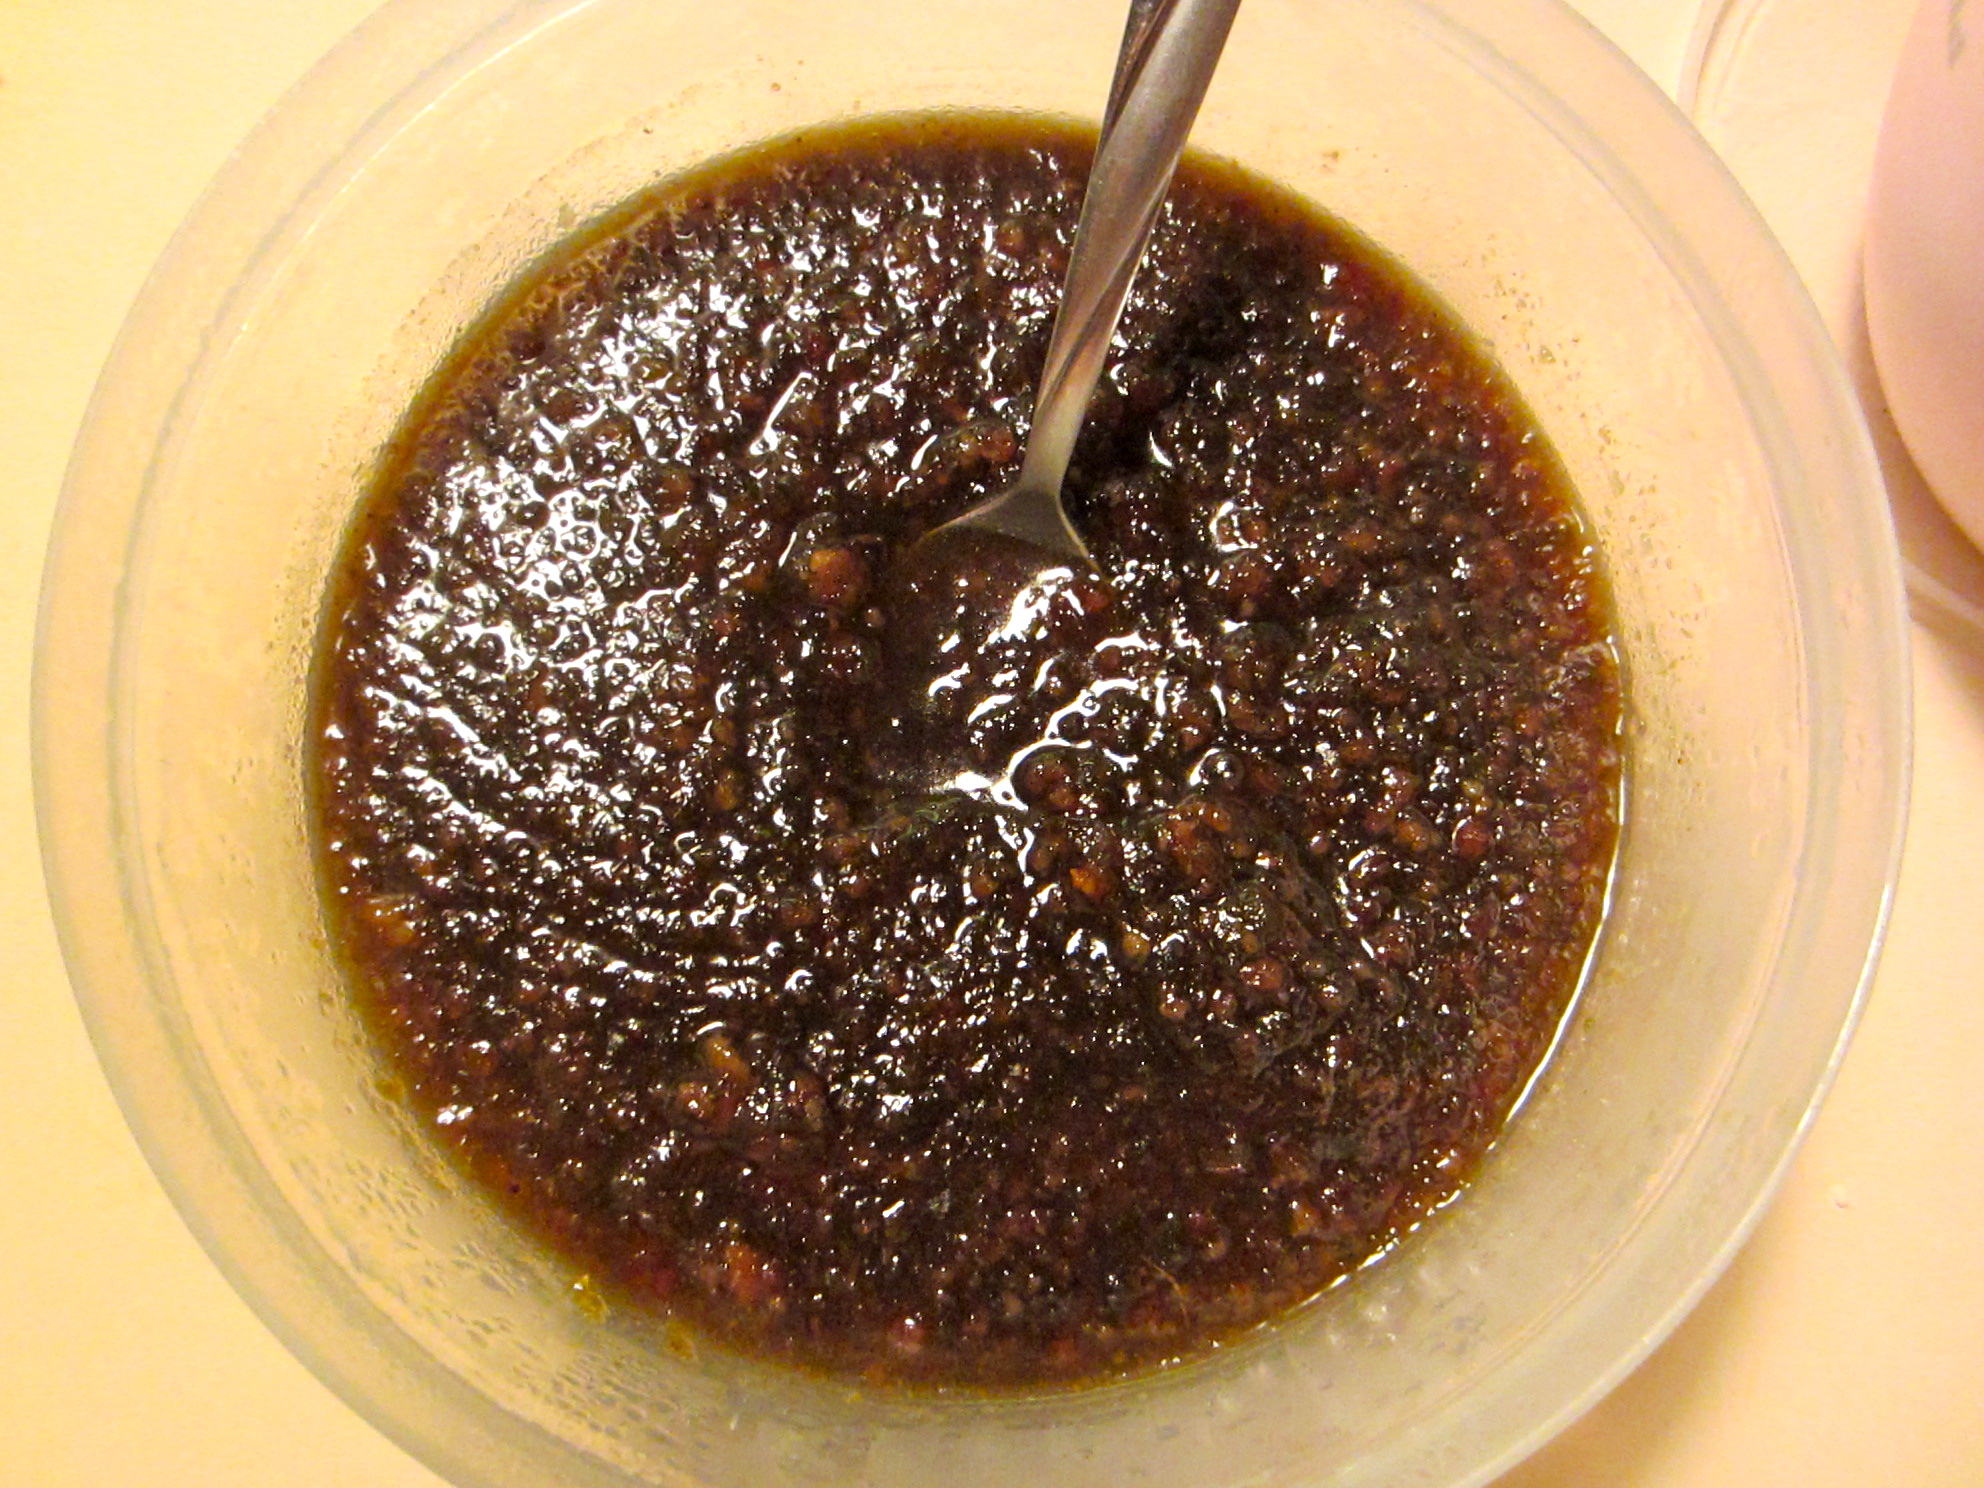
In large mixing bowl, combine beef mixture with taro and egg, and mix well.

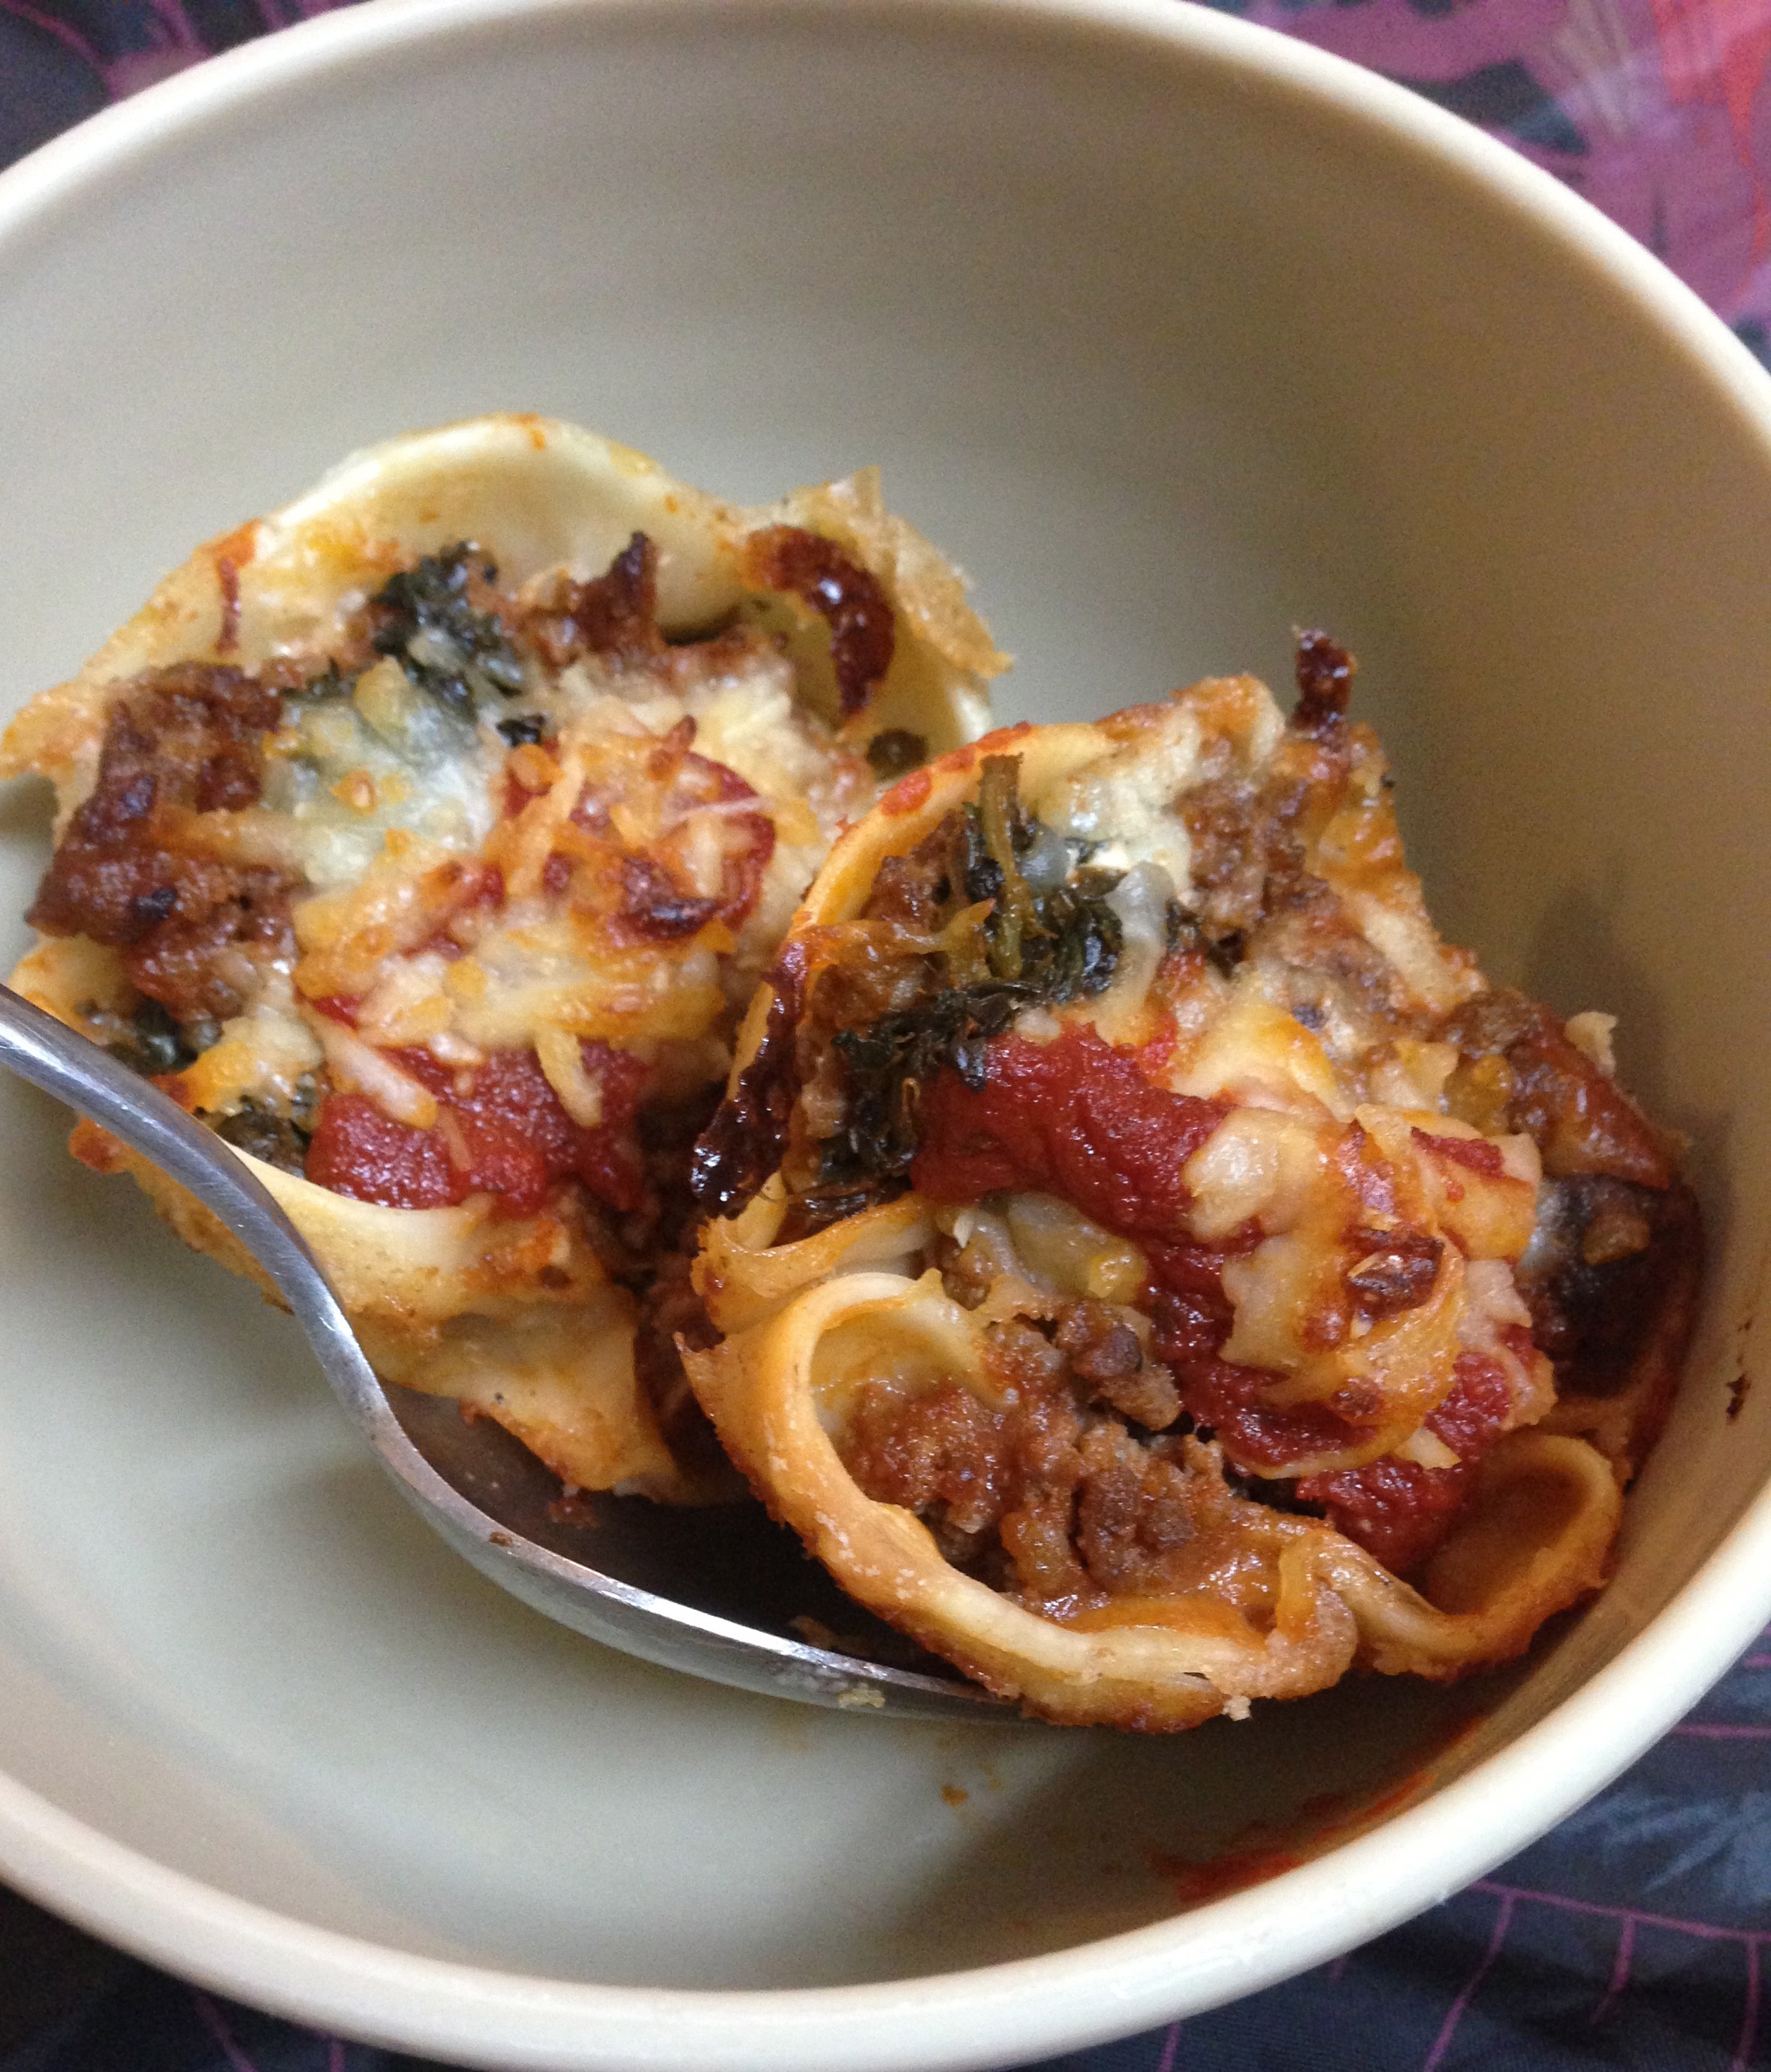
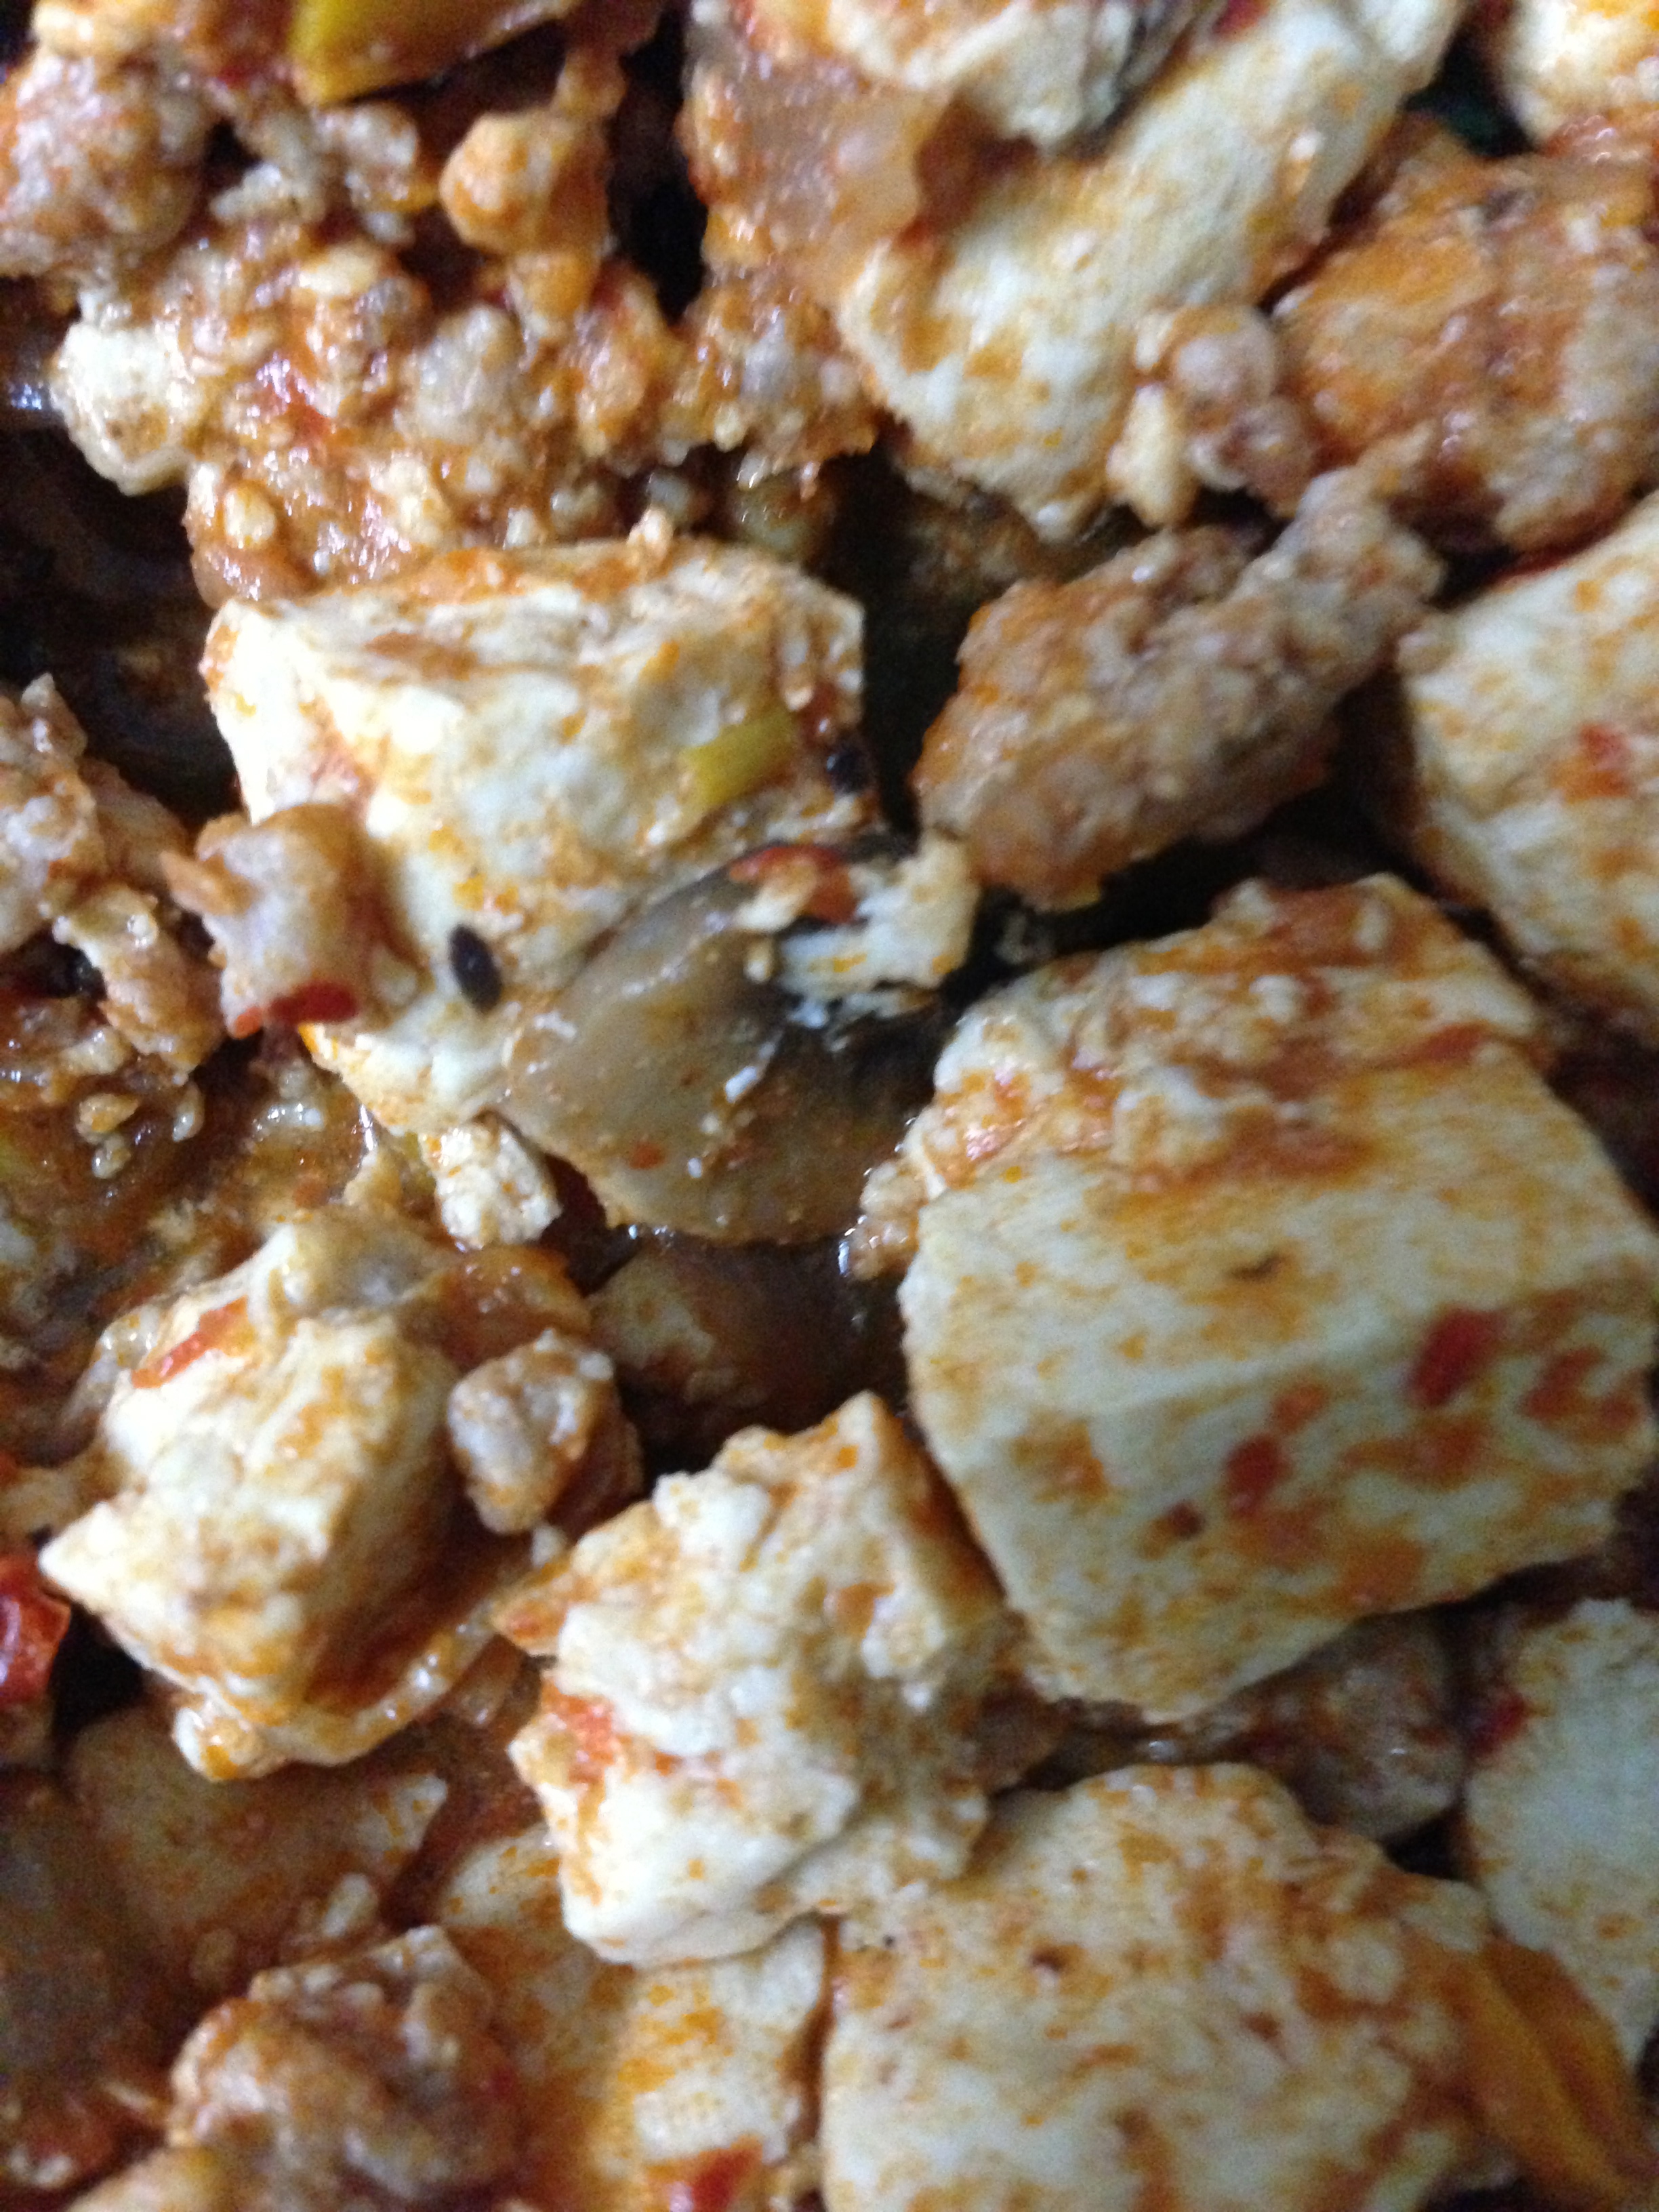
Over medium heat, add about 1 T. butter to saute pan. Using an ice cream scooper, drop taro and beef mixture into pan and flatten with spatula to form patty. Fry patties until golden brown on both sides, taro hash pattiesabout 2 minutes per side. The recipe above yielded 5 batches of 5 to 6 smaller patties each (I used a small scooper), thus the “5 T. or more butter” instruction.

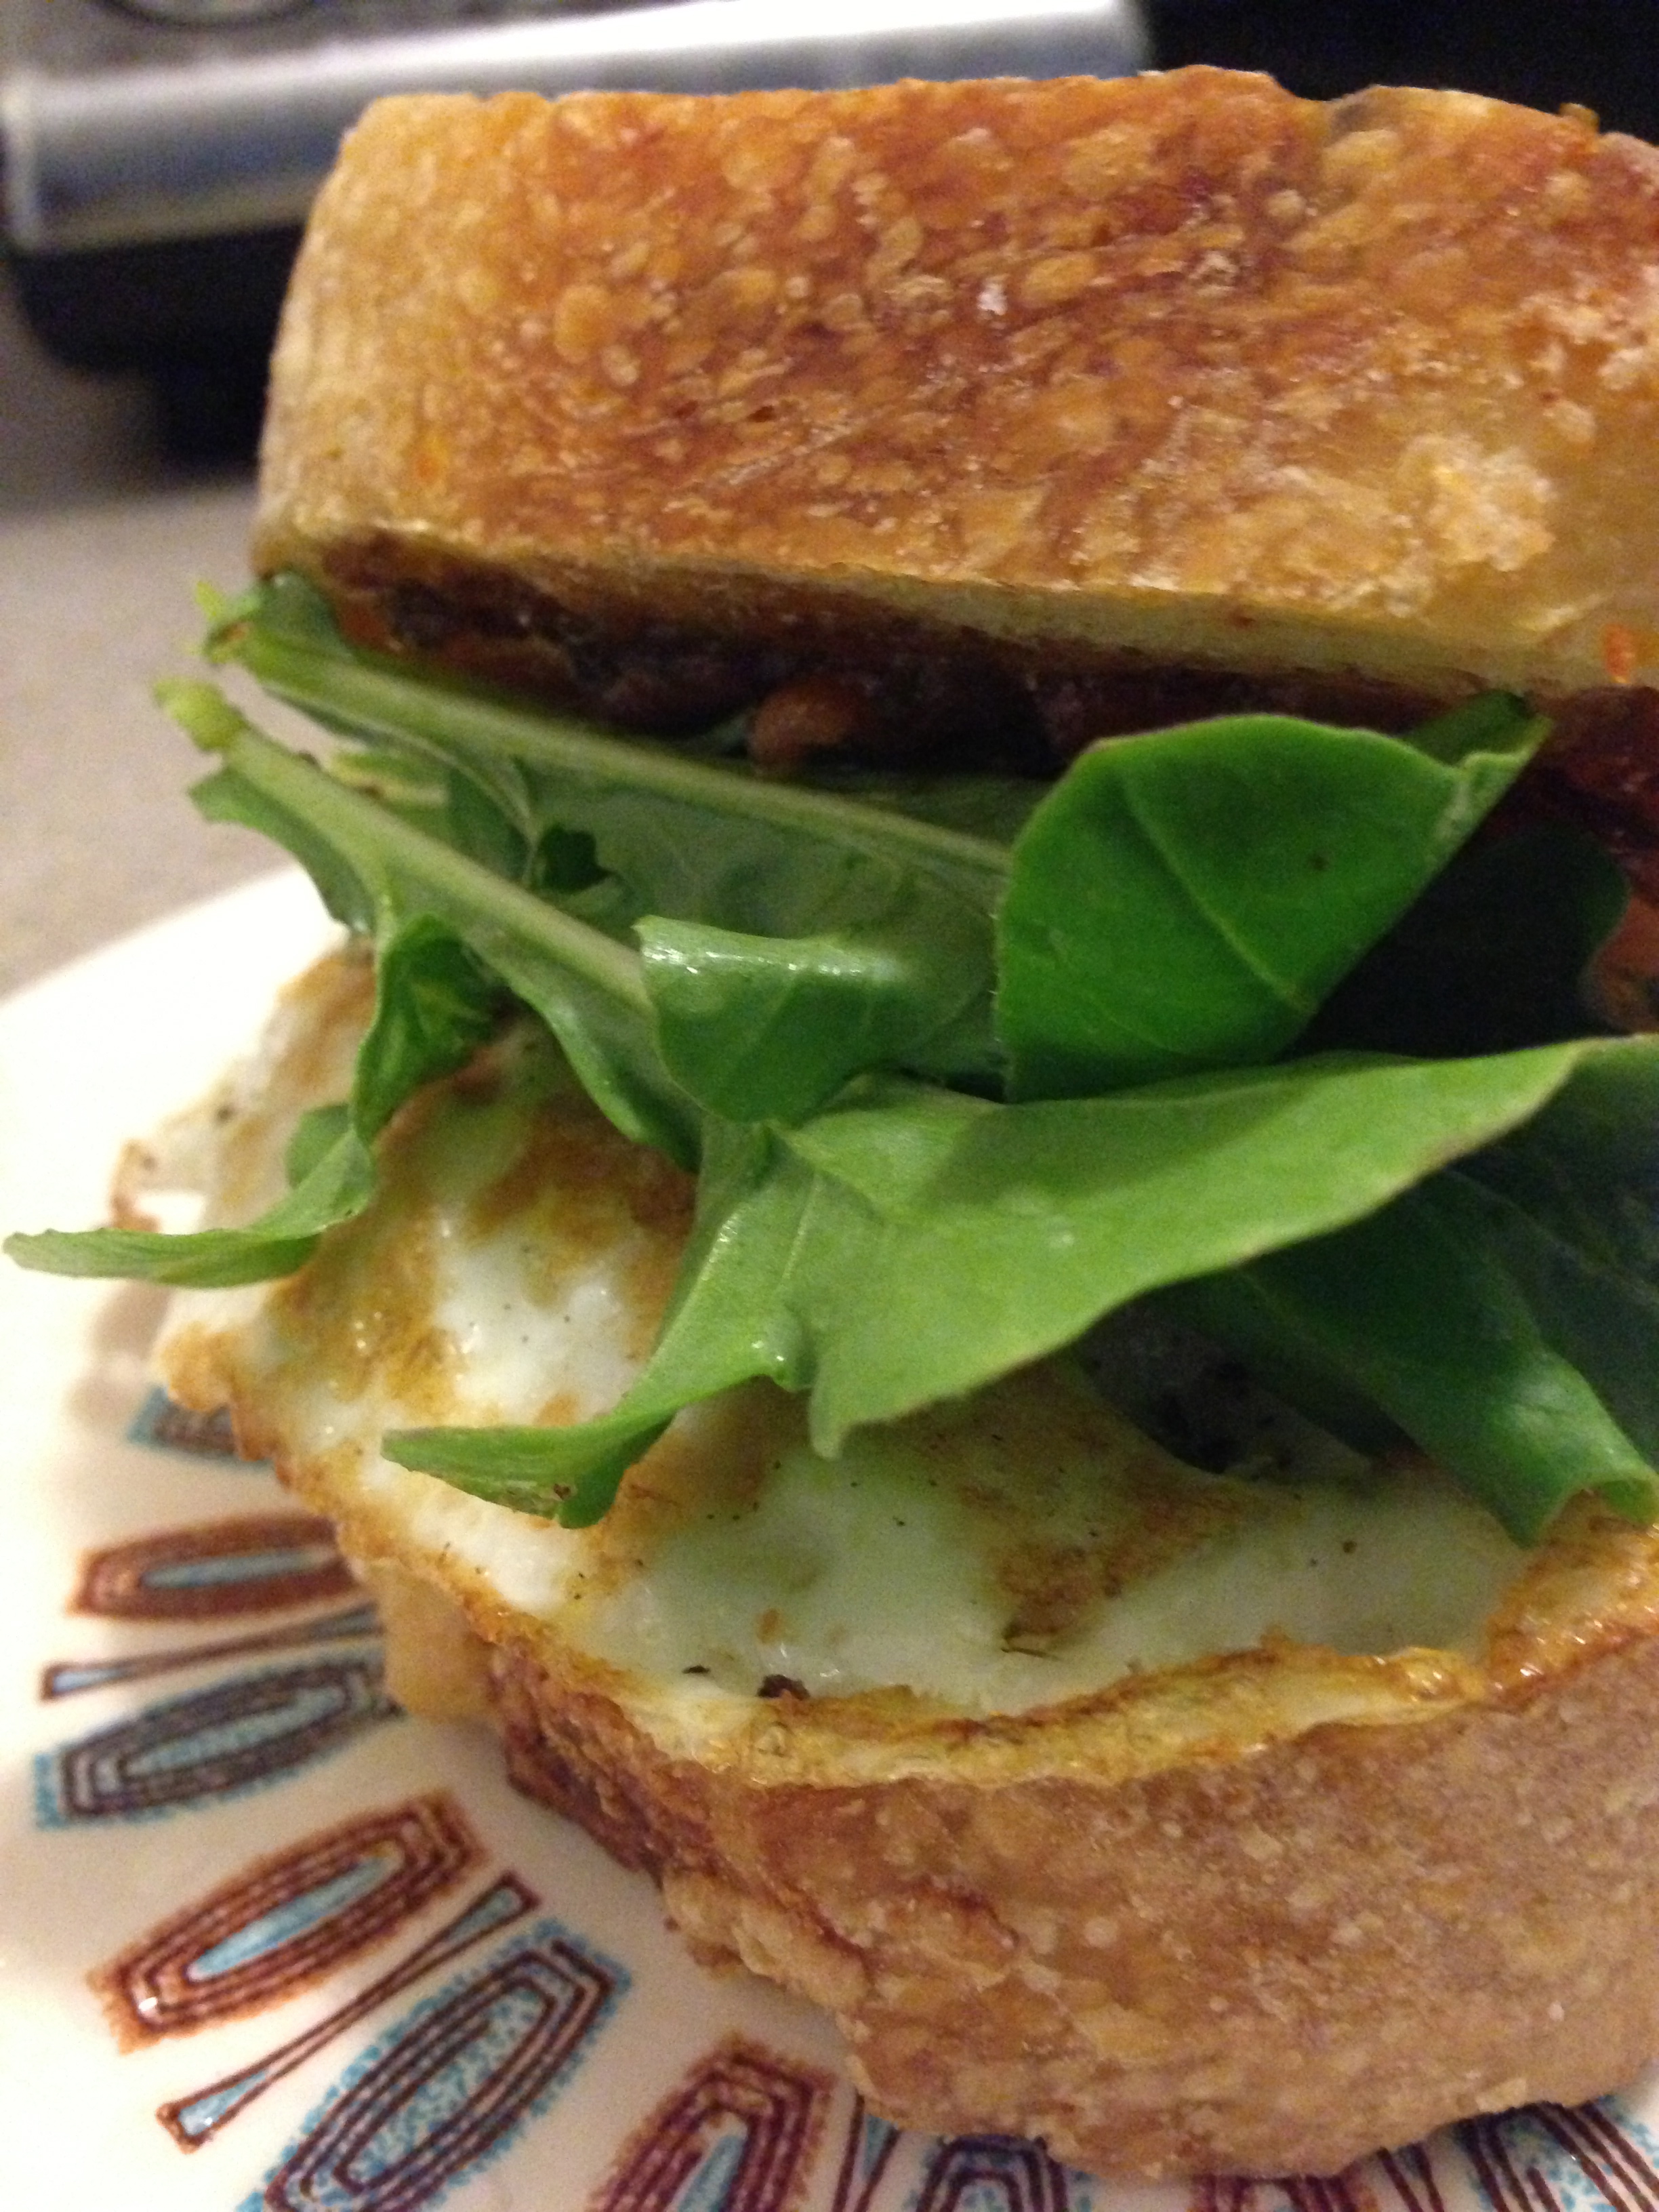
Drain patties on paper towel. You can serve taro hash patties with a green salad and rice or as sandwiches. I’ve also served a patty with a poached egg on top for breakfast. The last time I made it, I served patties with roasted local cauliflower and local boiled, peeled, and chilled beets as side dishes.

taro peeled

Background: I was thrilled when I saw this recipe in the local paper. I liked that it promoted locally raised and grown foods and offered a way to use taro, a food that I like in steamed form and when made into poi. Not long after, Pearl provided me with taro that she had harvested at Kahana and cooked. She mentioned, in passing, that taking taro from raw to cooked can be a production.

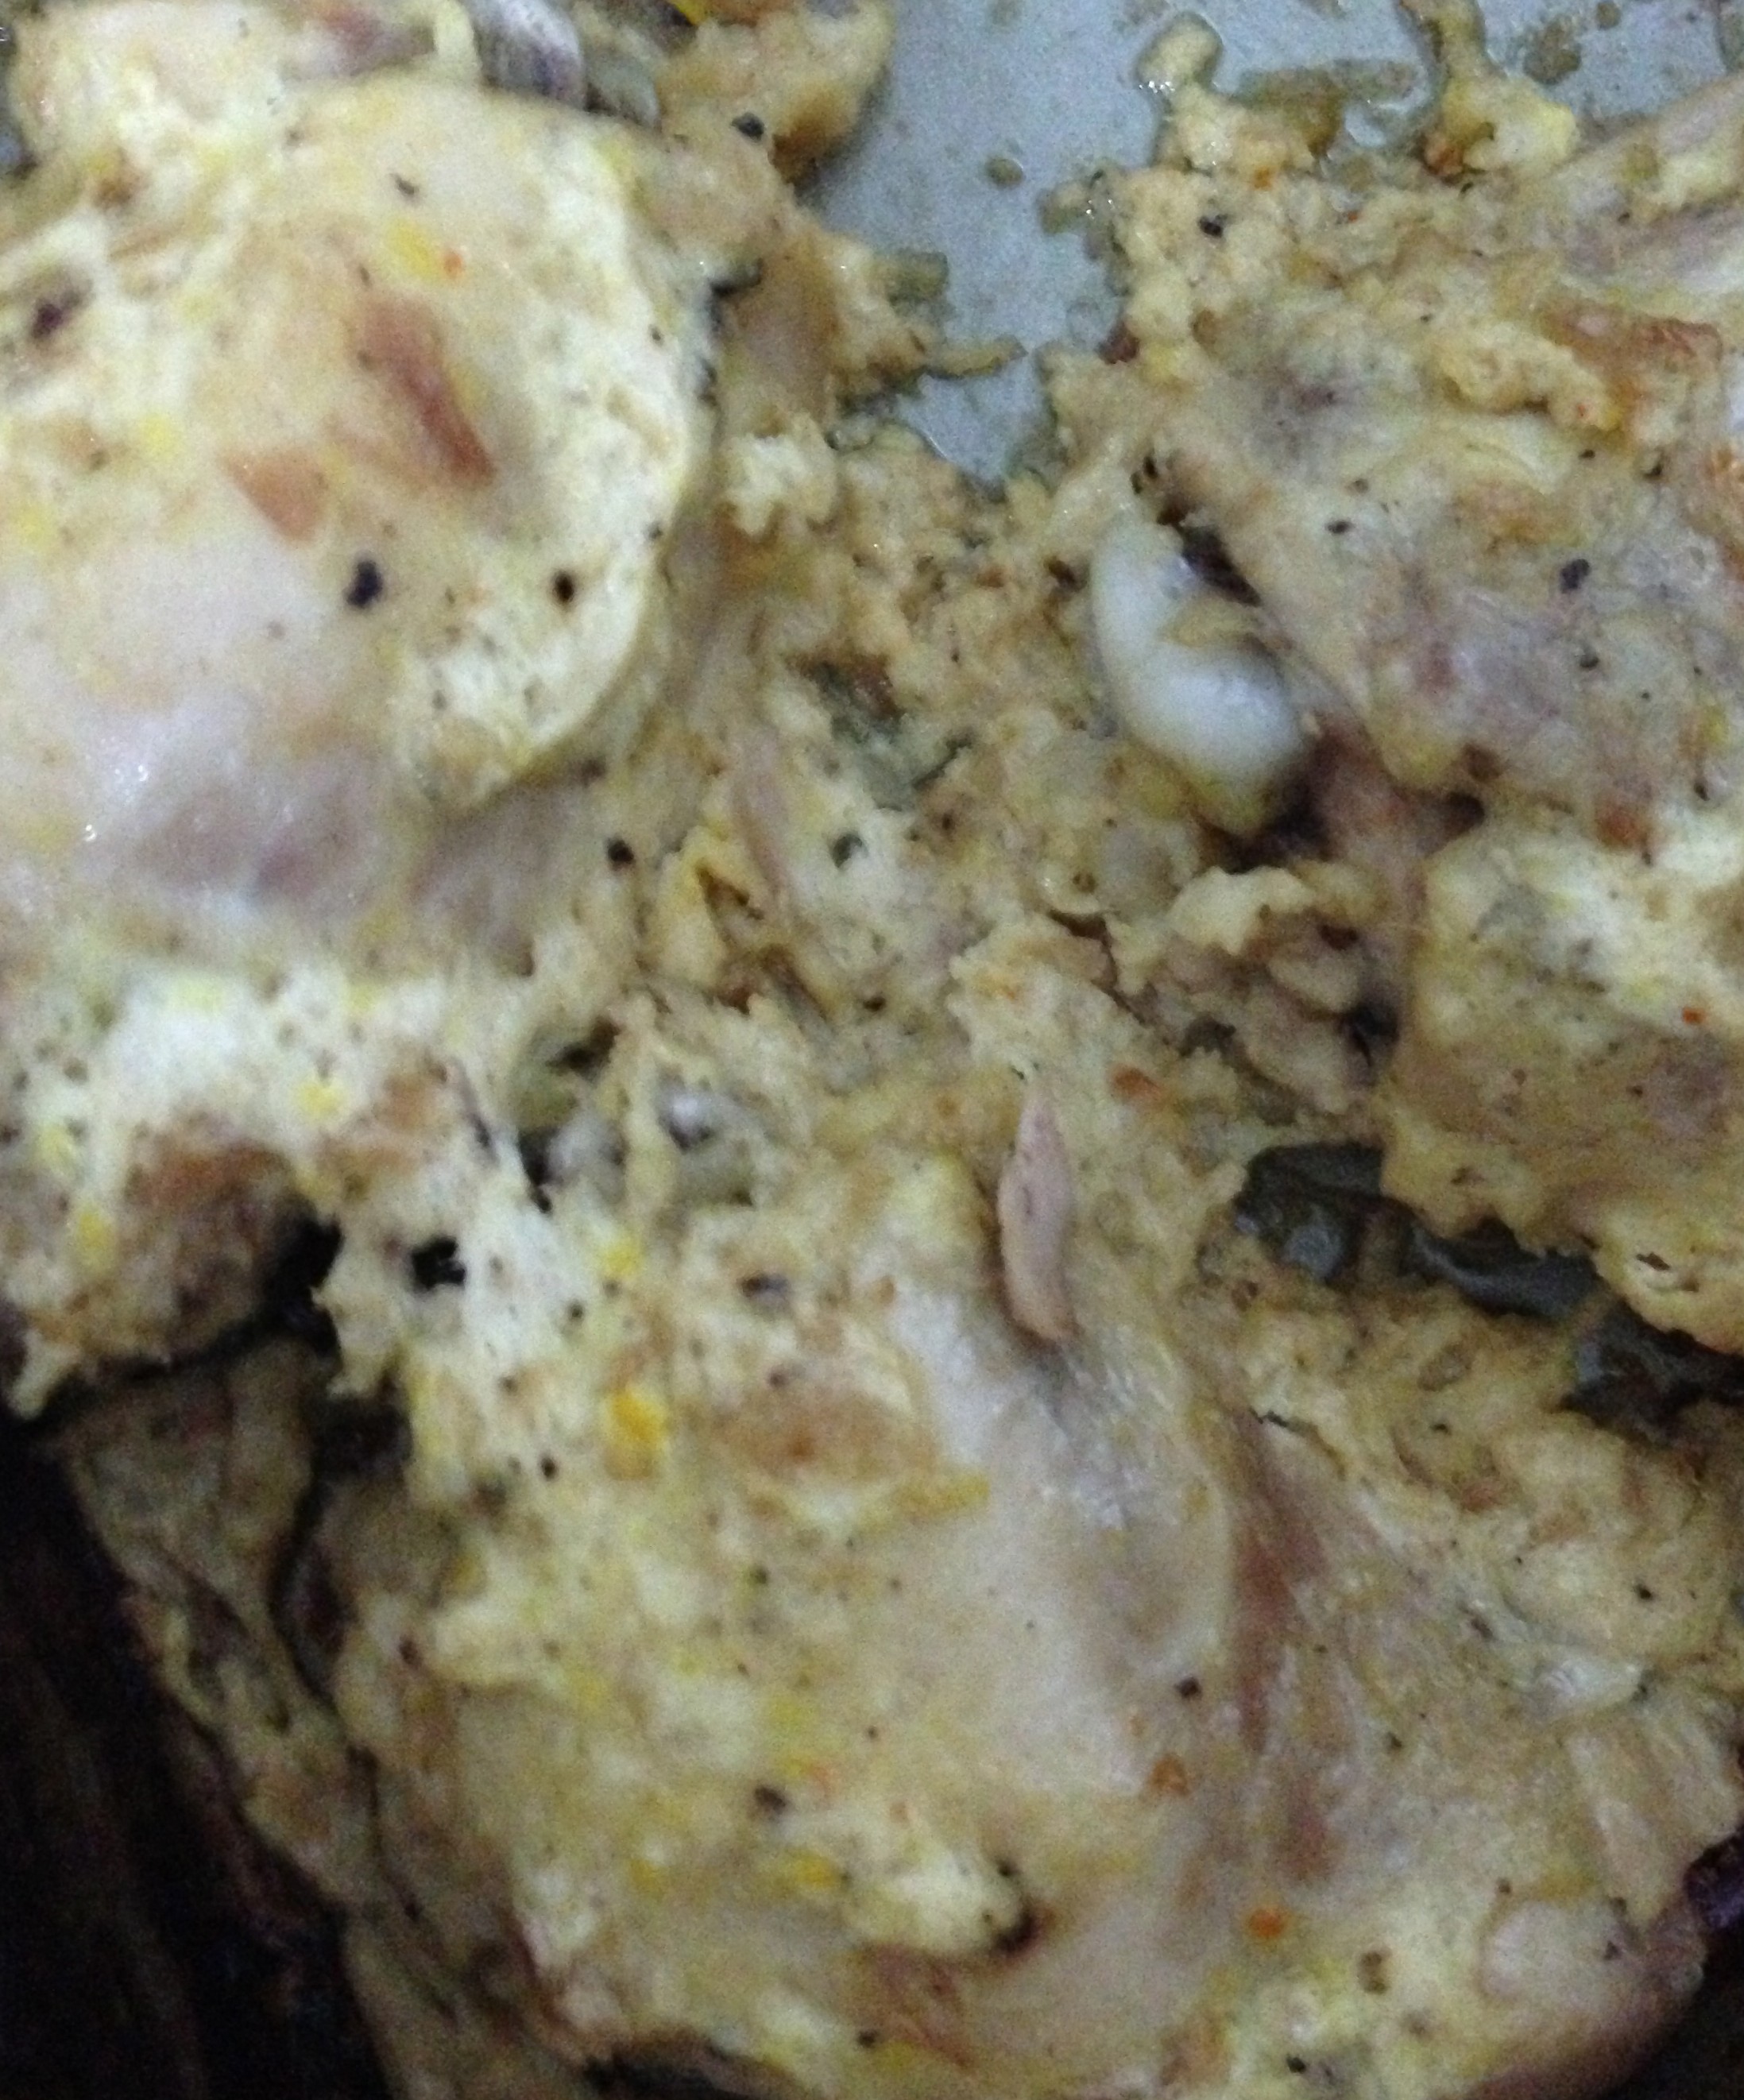
We loved how these patties tasted — just enough burger to them — with a hefty texture laced with carrots and onions.

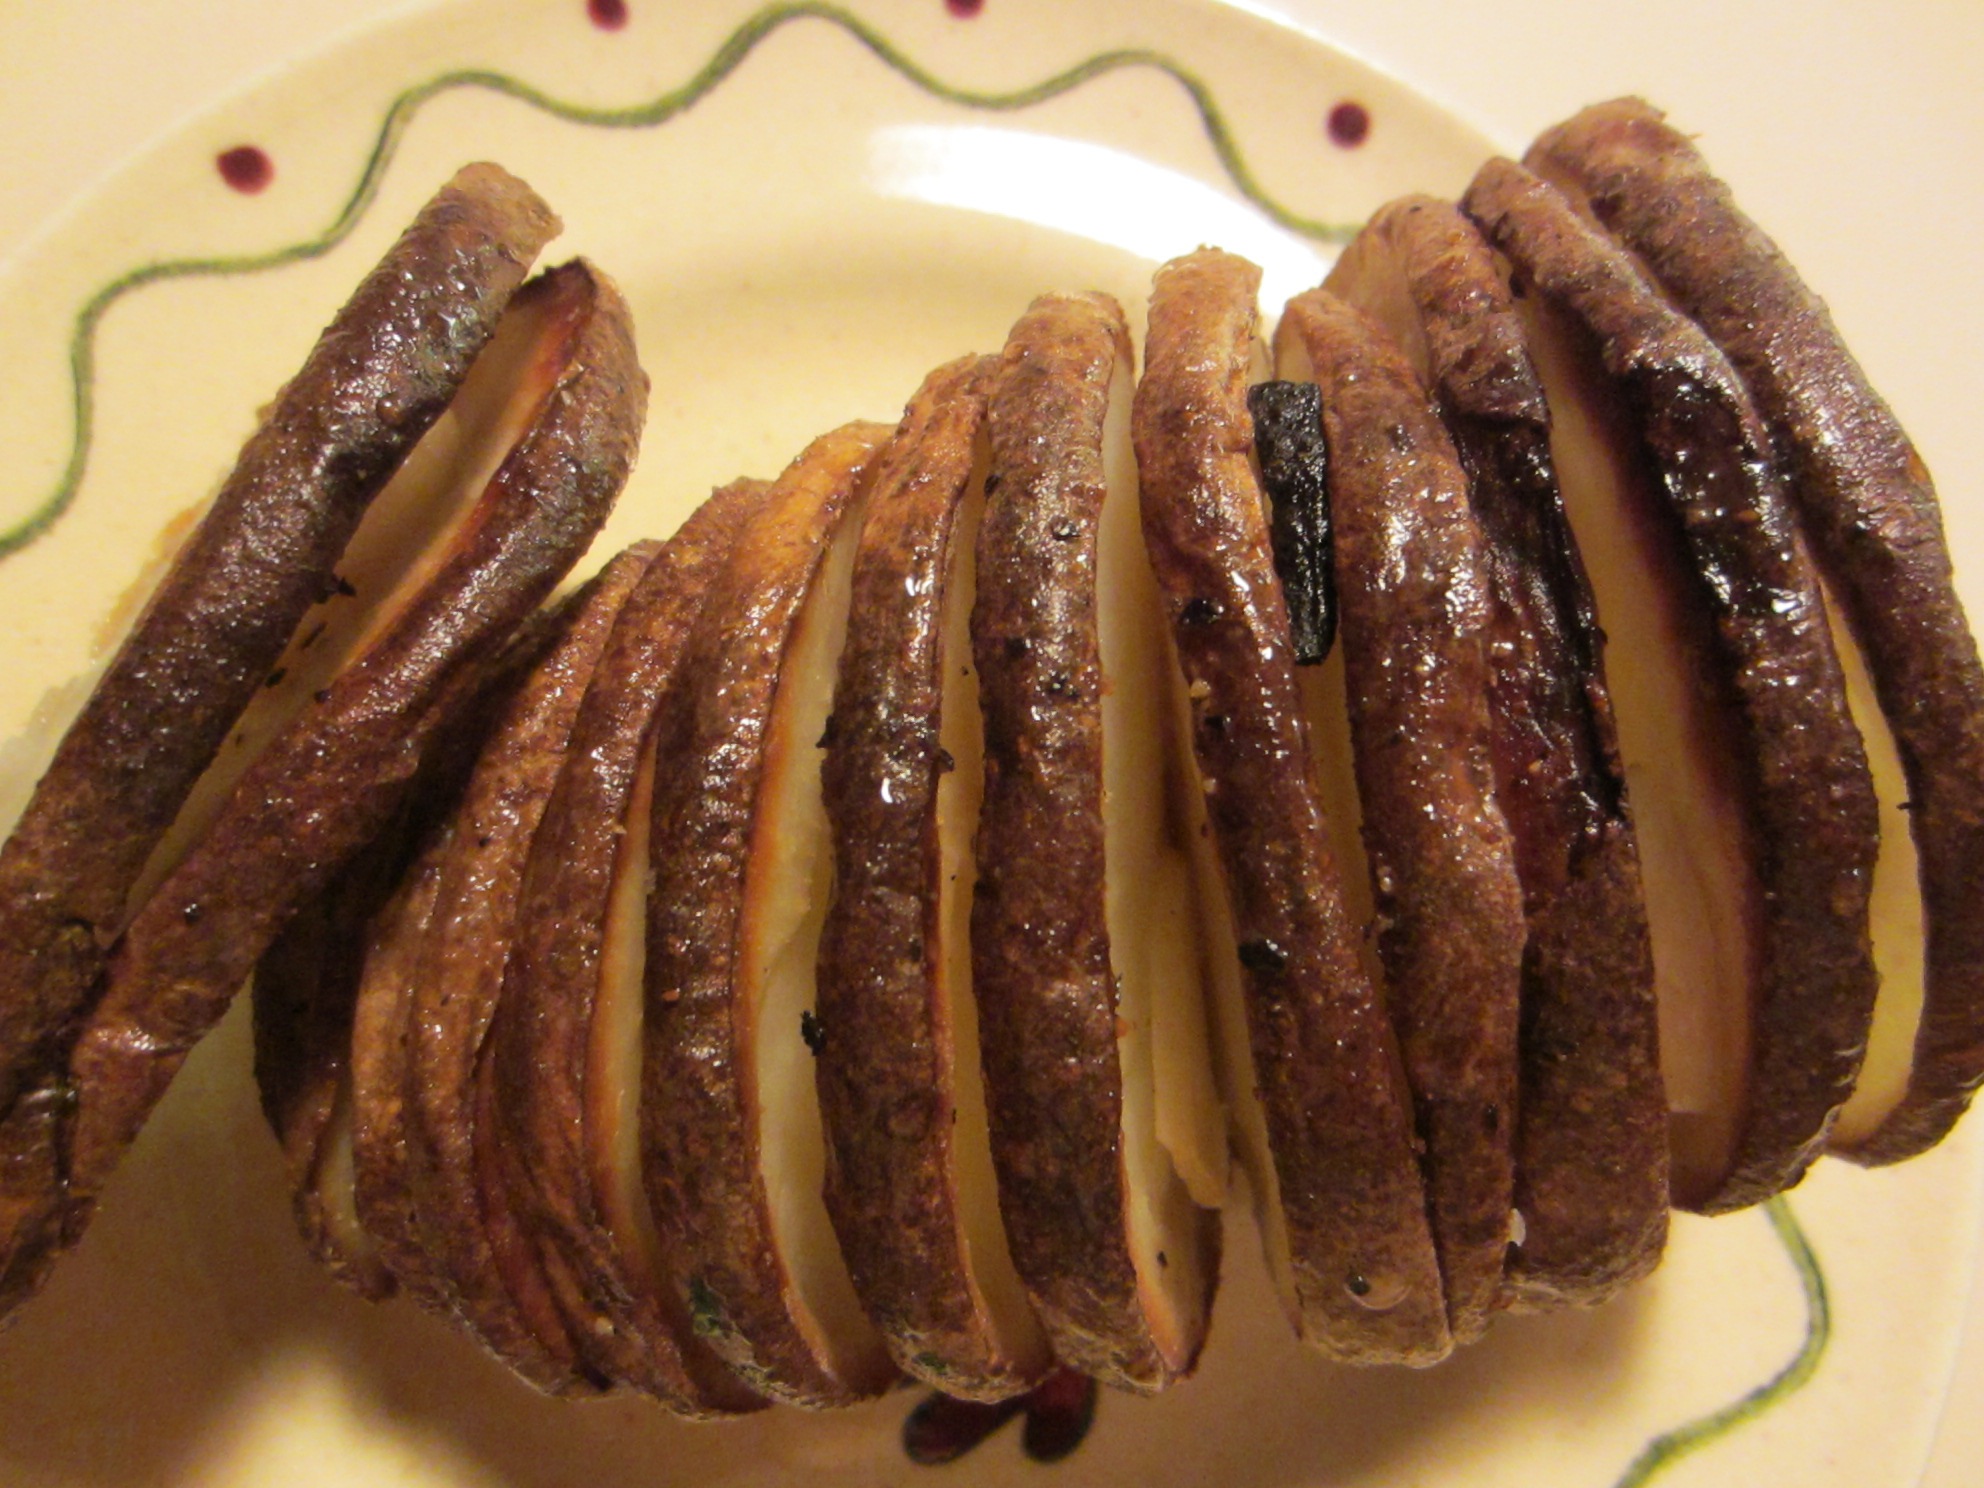
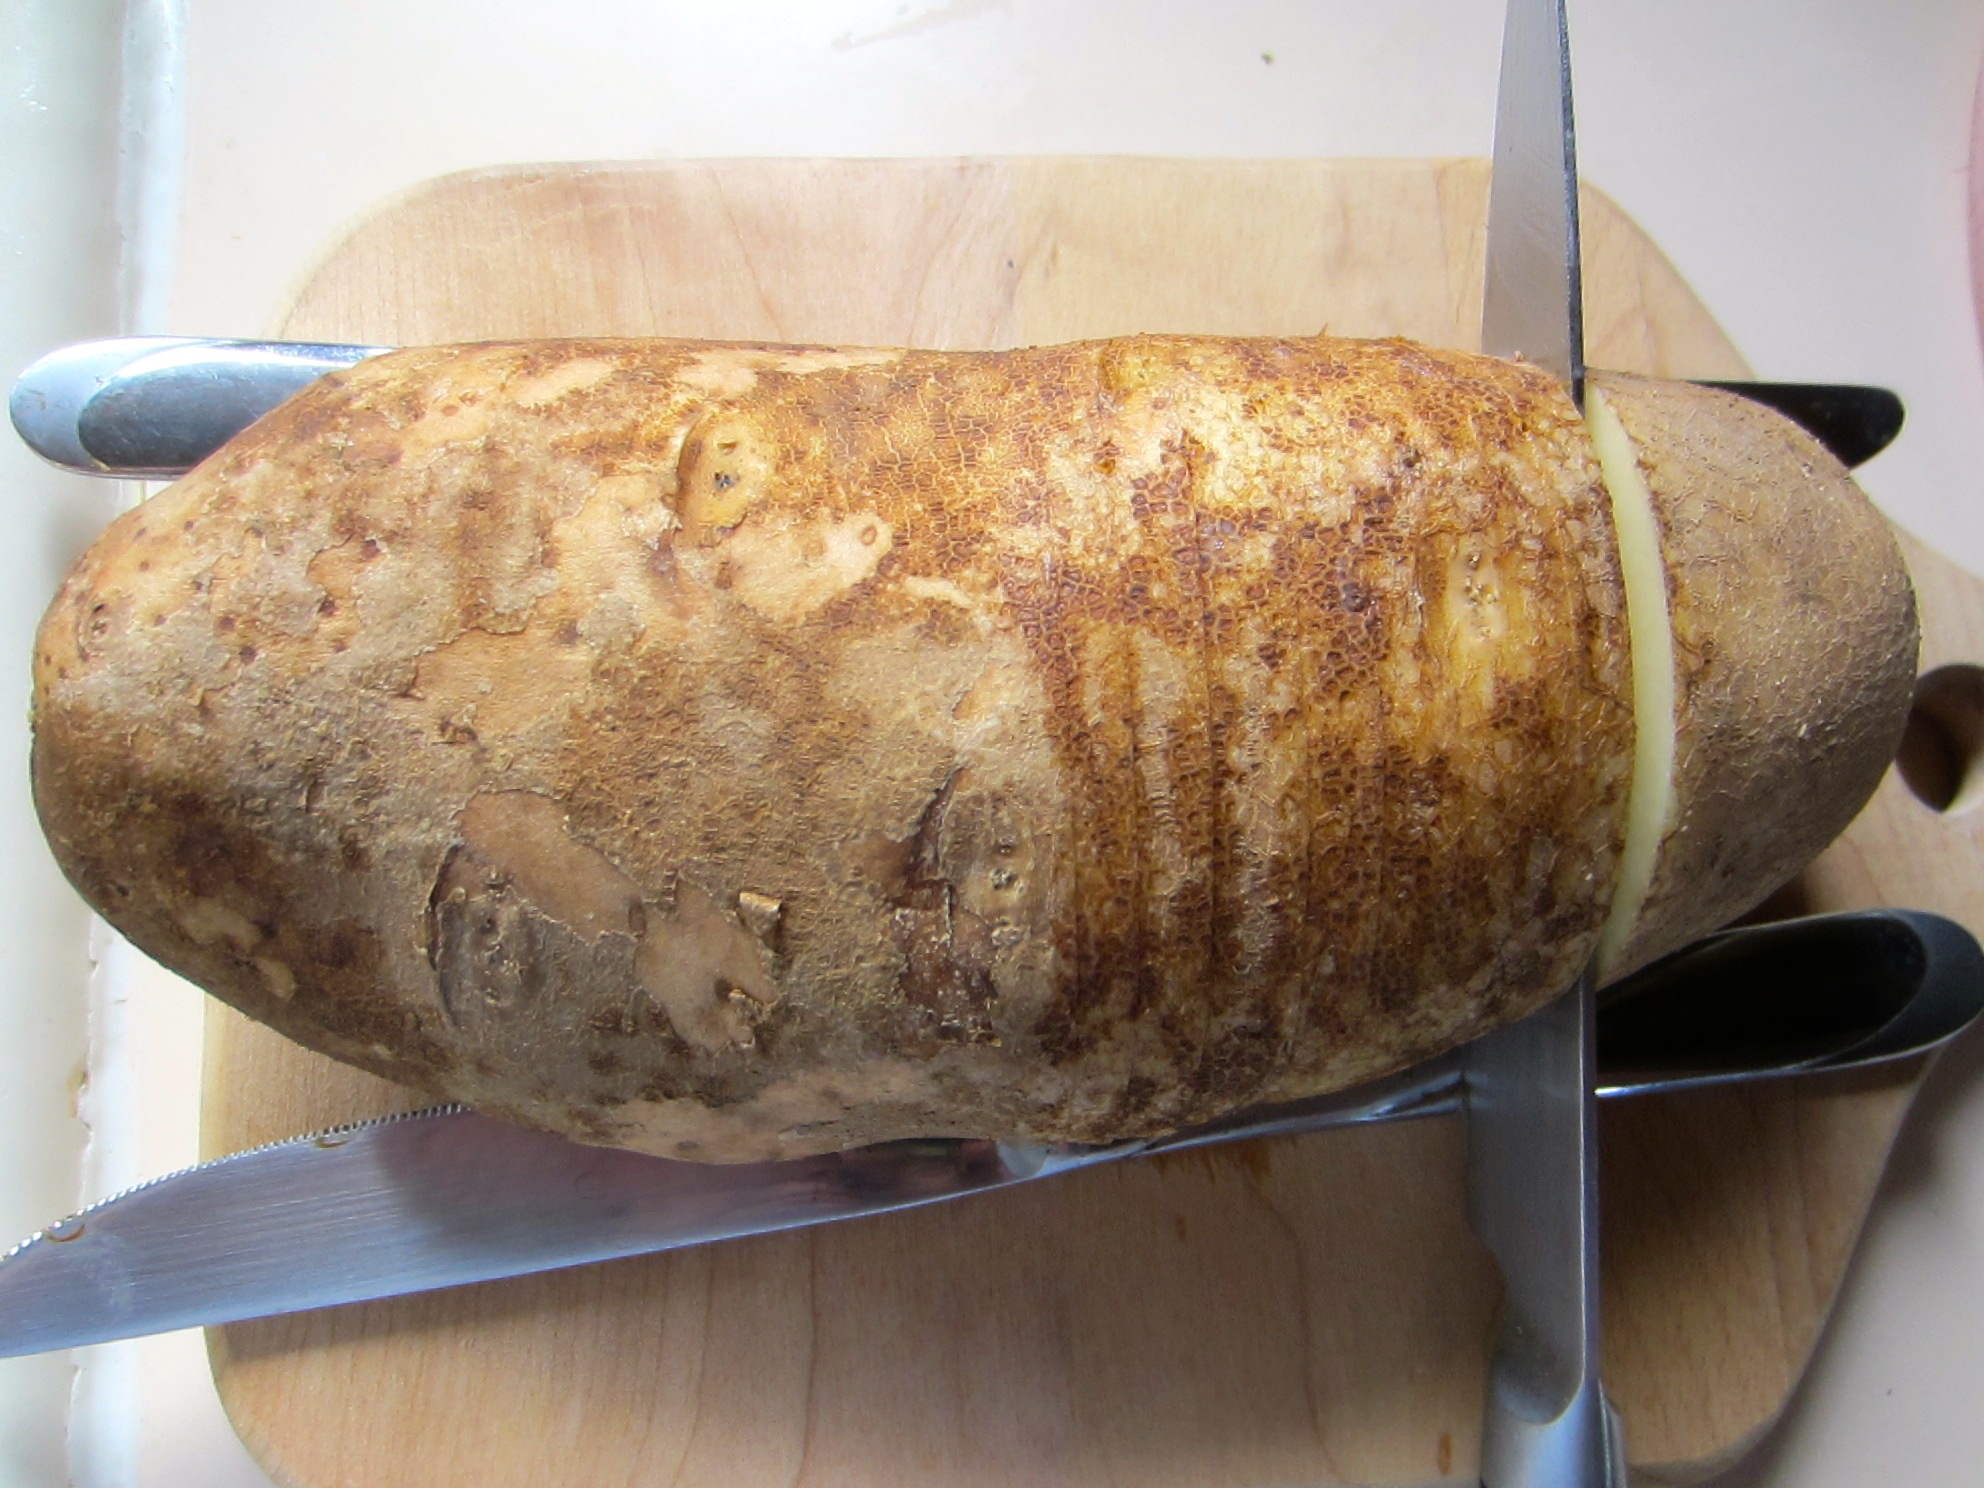
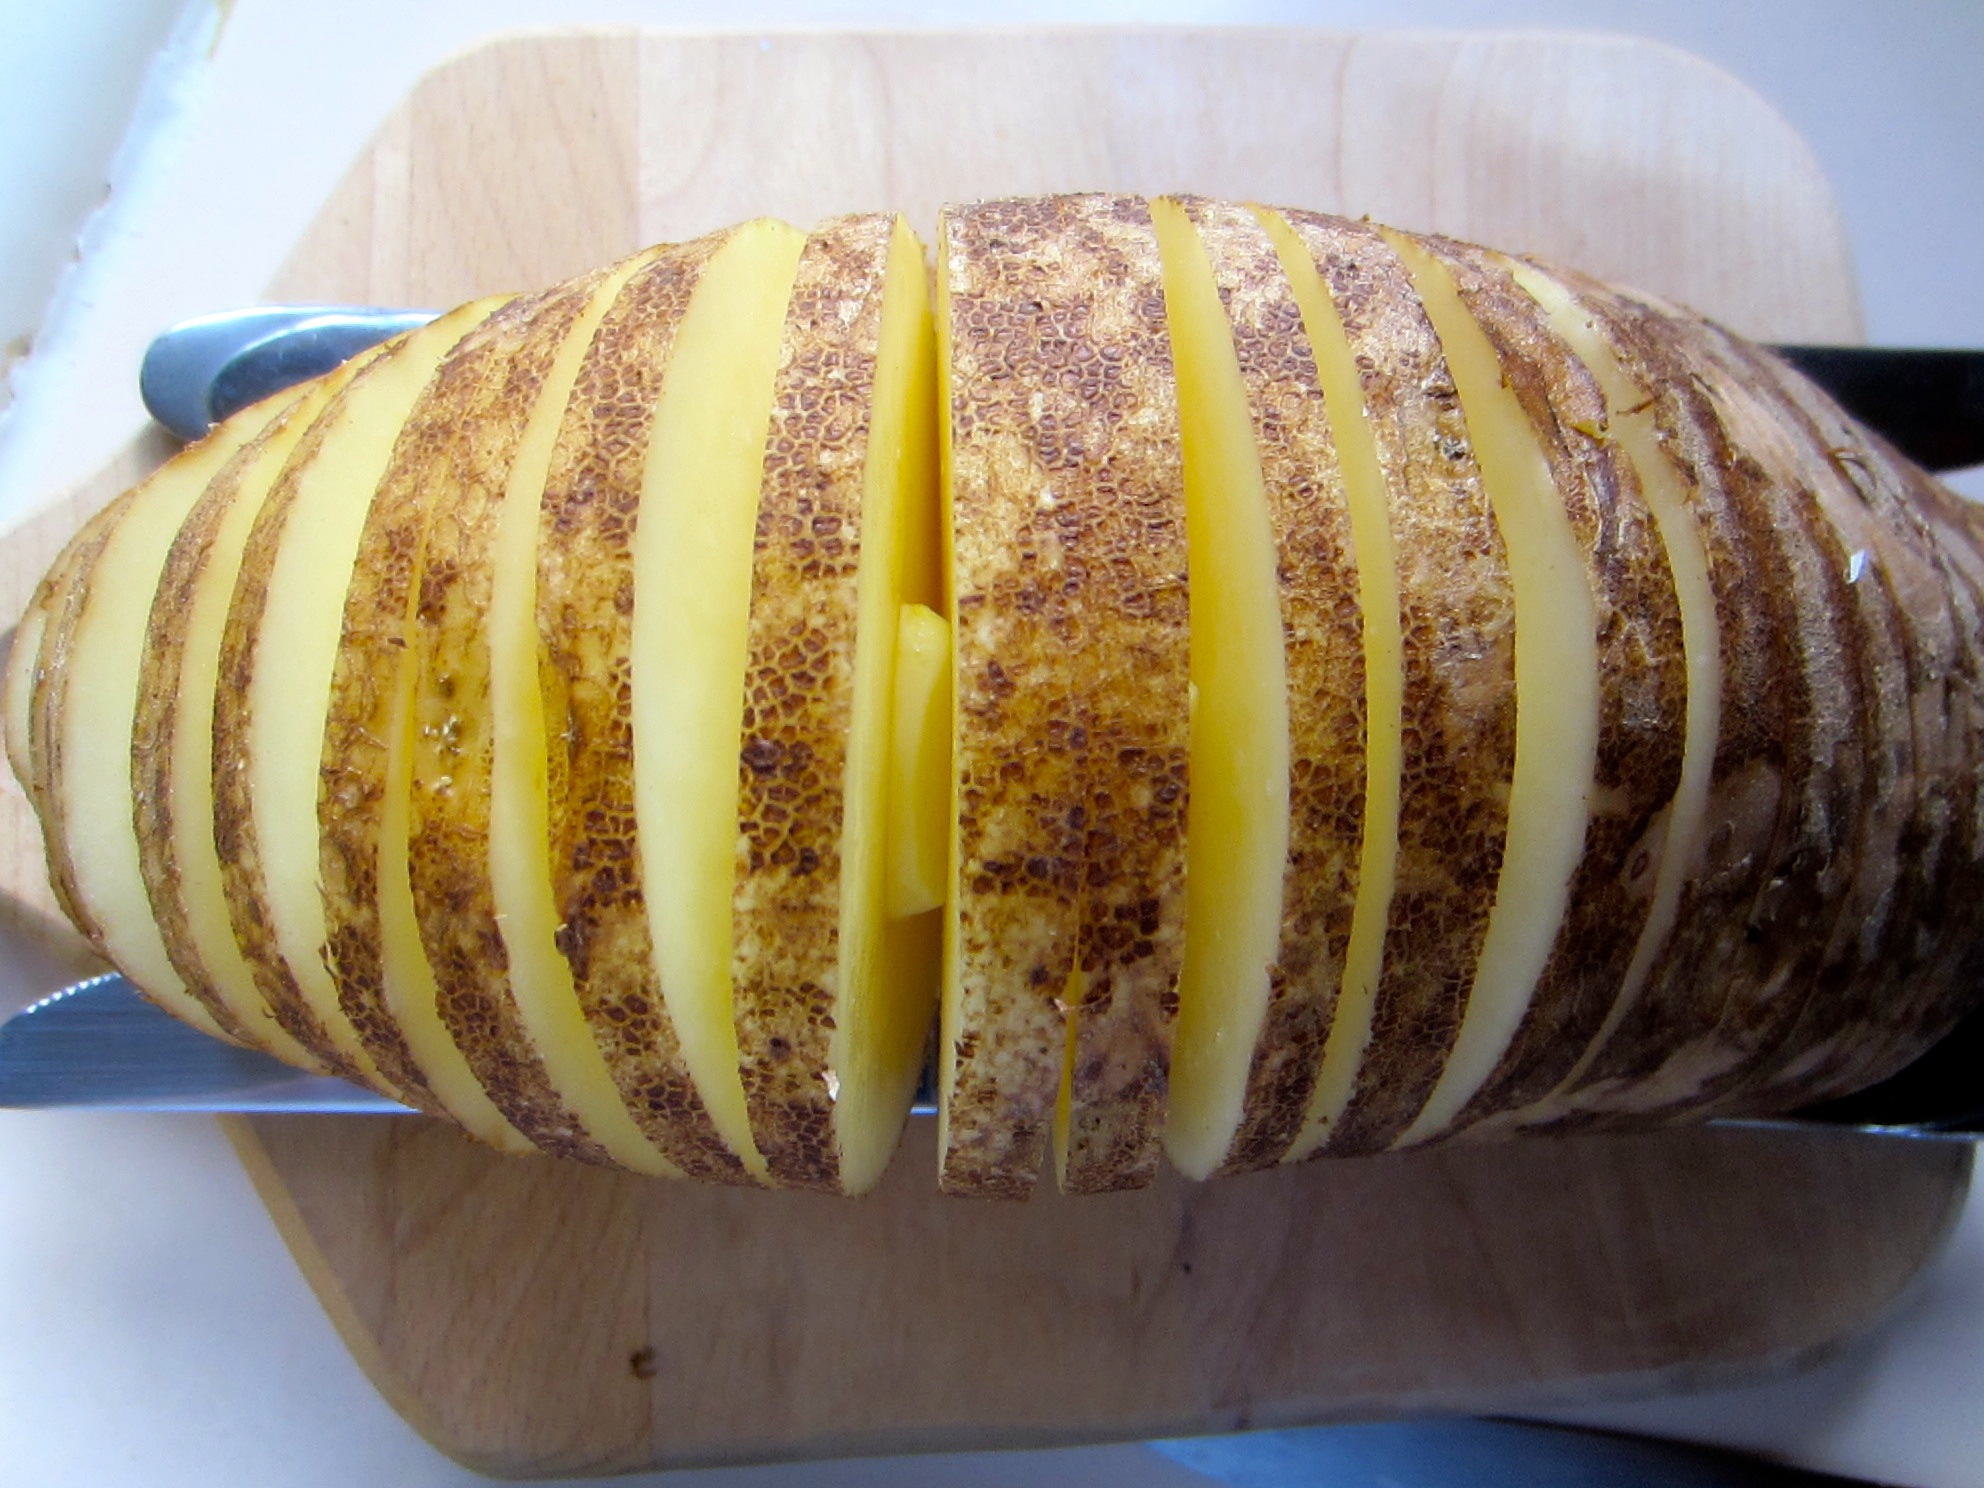
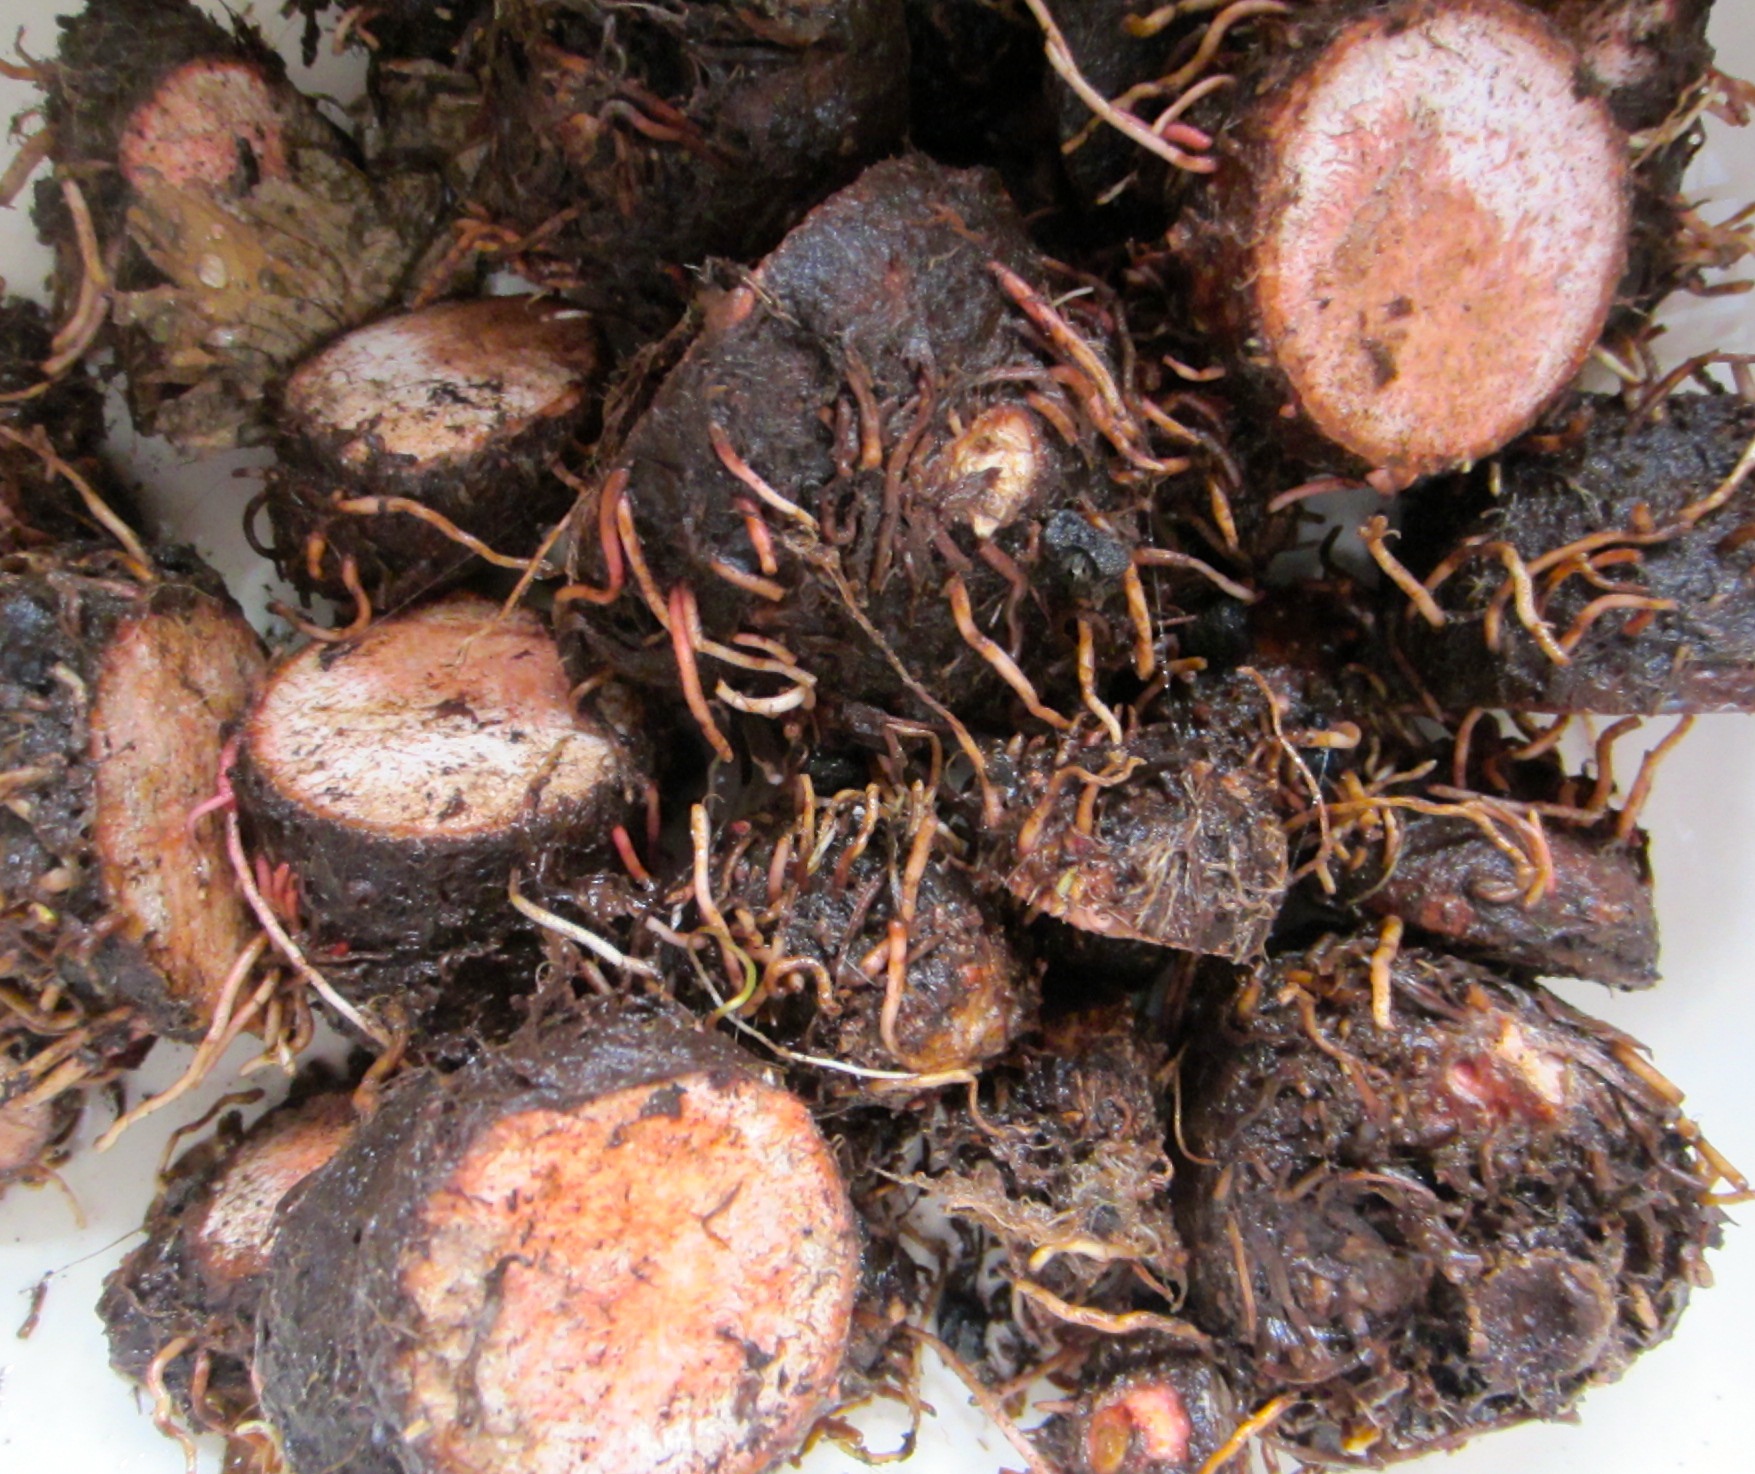
The next time Pearl presented me with taro, she hadn’t had enough time to cook it. “Should I steam it or boil it,” I texted her. “Either way,” she said. “Peel it then cook it or peel it after?” “Either way.” I knew just enough about taro to be cautious: if you eat undercooked taro, you will experience painful itching in your mouth and throat. I also learned that some people can’t even handle raw taro or their hands will begin to itch. As you can see by the lovely and benign few pieces of naked taro resting in the steaming basket, I didn’t get very far in peeling (which I would prefer to do) before the itching set in. Consequently, I had to scrub the taro as best I could and steam it with its brown tentacled suits on.

In taking taro from raw to cooked, my admiration for Hawaiians increased tenfold. I also am deeply thankful to Pearl for that first batch of cooked taro.

Hasselback Potatoes

hasselback done
1 or more large baking potatoes
garlic cloves
olive oil
salt and pepper

Scrub potatoes well. Peel and thinly slice garlic. You’ll need enough slices of garlic to slip between potato wedges.

Place the potato on a cutting board and place a dinner knife or chopstick on each side of the potato to prevent cutting through completely. Potato slices should be about 1/4″ wide.
hasselback cut

Insert garlic slices between potato wedges. Drizzle with olive oil and sprinkle with salt and pepper.
hasselback raw

Place on foil-lined jelly roll pan or in a baking pan since some oil will seep out. Bake at 350 degrees. A very large potato, as shown here, took about 1 hour and 20 minutes to be fully cooked, yet was moist with a crispy skin. The first time I made a Hasselback, the middle portion of the potato was not quite done enough. When life or inattentive cooking gives you an undercooked Hasselback, make fried potatoes and onions.

With the successful attempt I served sour cream, bacon jam, and watercress pesto as condiment choices.

Considering the amount of praise I got from my stalwart friends who regularly endure my kitchen experiments, this baked potato recipe is stupidly easy to make and pretty dramatic when served.

Onolish Muffin Tin Lasagna!

Lasagna Muffins

Bechamel Creamy Goodness Sauce:
1 1/2 tablespoons unsalted butter
4 teaspoons all-purpose flour (I have even used whole wheat flour)
1 1/2 cups reduced fat milk
1/4 teaspoon salt
1/8 teaspoon ground black pepper
1 tsp of minced garlic

Lasagna Muffins:
1/2 lb ground beef
1/2 lb italian sausage (out of casing)
1 tsp of minced garlic
1/4 teaspoon of salt
1/8 teaspoon ground black pepper
2 cups marinara sauce
1 1/2 cups of cottage cheese
1 cup shredded mozzarella cheese
1/2 cup shredded parmesan cheese
1 package mandoo wrappers (about 15)
1 package frozen spinach (thawed)

Depending on how many wrappers you have you can make 14-18 with this recipe. Defrost spinach. If you need to you can nuke it in the microwave to defrost. Drain out excess water. I usually just squeeze out the excess water. Be sure to do this; if not, your lasagna will be very watery.

Spray muffin tin with cooking spray.

To make the sauce for the bottom of the lasagna muffins: Melt the butter over medium-low heat. Add the flour and whisk. Increase the heat to medium-high. Whisk in the milk until it comes to a simmer and is thick and smooth, about 3 minutes. Whisk in the salt, pepper, and 1 tsp of minced garlic.

At the same time I also make the meat sauce. Brown tsp of minced garlic, italian sausage, and ground beef. Break up the meat.  Add salt and pepper. Once meat is cooked through, add 1 cup of the marinara sauce. Let simmer for 3 minutes.

Preheat oven to 375.

IMG_4169Now it’s time to assemble the lasagna muffins!!  If you have not done so already add at least a spoonful of the bechamel sauce to the bottom of each muffin tin – only a thin layer is needed. Place a mandoo wrapper in each muffin tin. Begin layering. I like to put the spinach first, then cheese, then a spoonful of cottage cheese, spoonful of ground meat with marinara, and a nice layer of cheese on the top. You can place everything in the order that you choose. Be sure to load them up so you have plenty of filling! After a layer or two I will push the filling to the bottom of the muffin tin. Itʻs fine if the filling goes over the mandoo wrappers.  Be sure that the top layer is shredded cheese.

Bake for 20 minutes and let cool for 5 minutes if you can wait that long! These also probably freeze very well.

Caveat: If you want to go lighter or are a little lazy you can also use marinara sauce instead of the bechamel sauce, but the salty creamy goodness at the bottom of the lasagna muffins is fantastic! I have to thank my good friend Ilima and her mother-in-law for inspiring this recipe. She made some for me for lunch one day using a jumbo muffin tin. I only had a regular size muffin tin and added spinach and also the bechamel sauce to the recipe she inspired. This is also a great item to bring for potluck.

Oh and also, be sure to take a good look at the mandoo wrappers to make sure they arenʻt moldy when you purchase them.  The second time I tried this recipe I bought some from Don Quixote and had everything prepped ready to go, bechamel sauce in the muffin tins, meat sauce cooked – and the mandoo wrappers were moldy!! It was so disappointing so be sure to double check your mandoo wrapper before you begin making the lasagna muffins. From now on, I will always keep a spare package of mandoo wrappers in the freezer.

(Yes, the exclamation on the title of recipe was necessary. I am a fan of these little bites of onoliciousness 😉 )

Jalapeno Bacon Jam

7 slices of bacon (about 1/2 pound)
1 or 2 or 3 jalapeno peppers, seeds and ribs removed*
1/2 onion
1/2 green bell pepperjalapeno bacon jam
1 cup sugar
1/2 cup brown sugar
1/3 cup apple cider vinegar
1/4 cup maple syrup
1 tsp. salt
2/3 cup strong coffee (brewed, not grounds)

Heat cast-iron skillet on medium and fry bacon until cooked but not too dark or crispy.
While bacon is cooking , put jalapeno, onion, and bell pepper in food processor and pulse until minced, about 10 one-second pulses.
Remove bacon from pan and set aside. Pour off all but 1 T. bacon fat and saute jalapeno, pepper, and onion mixture until onions are golden. Set pan aside.
Dice bacon into 1/4-inch pieces.
To pan, add bacon, sugar, brown sugar, vinegar, syrup and salt. Over medium heat, stir constantly until mixture begins to bubble. Add coffee and stir again.
Simmer jam until it thickens and has syrupy consistency, about 20 minutes. It will stiffen more as it cools, and even more in the refrigerator.
Let cool about 20 minutes and transfer to a food processor. Pulse until bacon pieces are smaller and jam is smoother and melds together, about 5 one-second pulses. It should be spreadable.
Use immediately or store in fridge. (If jam is too thick to spread, heat in microwave.)

* The first time I made this recipe — which calls for 3 jalapenos — I used only one since I wasn’t sure how hot one would be. Not quite hot enough, so the second time I used two. Some nice heat that certainly doesn’t overwhelm, but I think I’ll try 2-1/2 or 3 the next time. After all, this jam is loaded with three types of sugar.

Yield: about 1-1/2 cups
Source: Mariko Jackson’s “The Little Foodie,” Honolulu Star Advertiser, 8/28/13

Jackson also included this with the recipe: “If your jar makes it past three days, let me know and I’ll come finish it for you.”  Is it that good?  Just ask Mike.

IMG_4168
Background: This jam, like Windex in My Big Fat Greek Wedding, may be the cure for everything. Well, at least it seems to go with everything — from a spread on a sandwich pictured here (nice crusty bread with the jam, arugula, and a fried egg — Pearl’s concoction and her photo), with cream cheese on crackers, a condiment on baked sweet potatoes or a not-too-delicate protein (steak, yes, but chicken or fish, no), topping for vanilla ice cream, a spread on a tuna salad sandwich. The list will likely go on.

Ma Po Tofu

Ma Po To Fu 1.5 tbsp of hot bean paste
1.5 tbsp of shoyu
1 lb tofu (cubed)
1 tbsp of cooking oil
1 tbsp minced garlic
1 tbsp minced ginger
1 chopped shallot (optional)
1/2 lb ground pork
1 cup chopped vegetables (peppers, mushrooms, whatever leftovers you have)
1/2 tbsp white ppper (optional)
1 tbsp hoisin
1 tsp sesame oil
3 tbsp scallions
1 finely chopped chili

Mix the hot bean paste and shoyu. Put aside. Place oil over medium heat in frying pan or wok. Lightly brown shallots, garlic, and ginger. Add pork and cook until lightly pink, add cup of vegetables of choice ( I often add whatever leftover veggies I have; I always seem to have a half of pepper and a mushroom or two). Cook until ground pork is brown. Add tofu, hot bean paste and shoyu sauce you put aside earlier, and chili.

Let simmer until ideal consistency is reached. The longer you cook it, the more it will thicken. Some people like their ma po tofu very thick; if that’s the case make a slurry of cornstarch and water and add to the ma po tofu. Be sure to continue stirring until slurry is dissolved into tofu mixture or it will get lumpy. I don’t care to use corn starch when I don’t need to, so I let the sauce thicken up on its own.

Add hoisin sauce and stir. Finish with sesame oil and scallions. I like to eat the ma po tofu on quinoa and even on noodles!

Watercress Pesto

watercress pesto
1 cup pecans or walnuts or almonds
2 T. sunflower seeds
2 cups packed watercress
1 1/2 cup grated Parmesan cheese
3/4 cup olive oil
juice of one lemon OR 4 T. plus from bottle
3 garlic cloves
salt + ground black pepper

Dry toast the nuts and seeds in a pan (put in toaster over for 10 minutes at 300 degrees), shaking, until they’re ready.
In a food processor, whiz the nuts and seeds until finely chopped.
Add all the other ingredients, and whiz again.
Season with salt and pepper and adjust to desired consistency with olive oil.
Serve with fresh bread or on pasta or as dressing for a sandwich, etc.

Caveat: I’ve noticed that when I’ve added sunflower seeds, the pesto can be drier. Stir in olive oil, as needed, before serving.

When life (or Pearl) gives you watercress, make pesto.

Basil Pesto

2 cups packed fresh basil leaves, washed and drained well and patted dry
1 cup freshly grated Parmesan cheese
1/2 cup olive oil plus a tablespoon or more if it seems dry
1 or more garlic cloves
1/4 nuts (pine, almond, or walnut)
2 T. dry roasted sunflower seeds

basil pesto

Adapted from Sunset’s Italian Cook Book (1975)

Place almonds (or other nuts) and sunflower seeds in blender and whiz until finely chopped; add cheese, basil, garlic, and oil, and whiz until blended. Keeping turning off the motor and scraping the sides of the blender to ensure all ingredients are completely blended into a somewhat coarse paste. You can use the pesto immediately or chill for later. The pesto darkens when exposed to air, so stir before serving.

This yields about 1-1/3 cups and lasts for a couple of weeks.

ninja


I usually don’t plug products, but I do like the Ninja blender.  As you can see, it has two sizes of bowls and you place the motor on top, which makes for easy storage and easy cleaning.

Cold Cucumber Soup

4 medium cucumbers, peeled, seeded, cut into large dice (about 3 cups)
1 serrano pepper, about the size of an adult woman’s baby finger
2 or more cloves of garlic, chopped
1 cup broth,vegetable or chicken
2 cups plain Greek yogurt
Salsa

cuke soupCombine the cucumbers, pepper, garlic, broth, and yogurt in a food processor, and pulse until smooth. Season to taste with salt and black pepper, and chill for at least 30 minutes and up to 3 days.

Place a dollop of salsa in each bowl of soup.

Source:  Huffington Post’s White Gazpacho

Background:  I think I’ve said this before:  I frequently make a dish even when I don’t have, can’t find, refuse to buy all the ingredients listed.  What sent me online looking for cucumber soup was having way too many cucumbers that were about to go bad.  I didn’t have vegetable broth so I used chicken.  (I did bring it to a boil then cooled it down before adding.  Why?  It just seemed the right thing to do.)

The recipe called for 2 small jalapeno chilis, not something I had handy, so I added about 1/8 tsp. of cayenne and figured the (not-homemade, which is what Huffington prescribes) chipotle salsa would make everything okay.  It did, according to Mike and Pearl.  The second time I made it, I added one serrano pepper.  That turned out well.  The point is that if you don’t get hung up on “White Gazpacho” (come on, we’re talking about cucumbers with yogurt here), then you’ll feel liberated enough to experiment.  Some things I won’t skimp on, however:  Greek yogurt, fresh (not Costco jar) garlic, and locally grown cucumbers, which are sweet and nearly seedless.


Chicken in Yogurt or Dahi Murgee

IMG_3119

2 lbs chicken thighs (about 8-10 pieces)
1 cup plain yogurt
1/2 teaspoon salt
1/2 teaspoon black pepper
1/2 teaspoon white pepper
1 tablespoon dried fried scallions (available at most Asian markets)
2 cloves minced garlic
2 teaspoon grated ginger
2 tablespoons vinegar or lemon juice (if using fresh lemon add some lemon zest)

Mix yogurt, salt, pepper, garlic, ginger and lemon juice or vinegar. Add chicken  to yogurt mixture; being sure to coat every piece. Marinate for at least one hour (if you are a fan of washing less dishes like I am – then marinate in the pan you will be baking in).  Preheat oven to 450°F. Place chicken in baking pan. Cover with foil. Bake for 45 minutes.  Take off cover and if there’s excess liquid, bake for another  5-10 more minutes uncovered.

Source:  this recipe has been adapted from a recipe submitted by Feriyal Aslam to an East-West Center cookbook.

Bitter Green Salad with Roasted Pears

IMG_0875
8 firm, ripe Bosc pears (4 lb.), peeled, cored, and cut lengthwise into 8 wedges
1-1/2 T. extra virgin olive oil
1 head of radicchio
1 bunch of watercress, coarse stems discarded
1 bunch of arugula OR 1 small head of chicory and 1 small head of escarole and 1 bunch mizuna, coarse stems discarded*
1 small head romaine lettuce
Goat or feta cheese, whatever is available

Dressing
1 T. finely chopped shallot or Filipino onion
2-1/2 T. cider vinegar
2 tsp. honey or more to taste
1/4 tsp. salt
1/8 tsp. black peppper
1/4 c. plus 1 T. extra virgin olive oil

Yield: makes 10 to 12 servings
Source: modified from a recipe at epicurious

Put oven rack in the middle position and preheat oven to 425 degrees.
Toss pears with oil and spread in a single layer in a 17- by 12-inch shallow baking pan, then season with salt and pepper. Roast pears, stirring and turning over twice, until pears are tender and beginning to brown, 20 to 30 minutes, then cool about 15 minutes.

While pears are roasting and cooling, tear enough of the greens into bite-sized pieces to measure 6 cups.

For dressing, whisk together shallot or onion, vinegar, honey, salt, and pepper, then add oil in a slow stream, whisking until emulsified.

Before serving, toss greens with salad dressing just to coat and invite guests to assemble their own salads by adding pears and cheese.

Background and caveats
I’ve made this salad several times but have never been able to find chickory, escarole, or even mizuno, which is available in most stores in Hawaii. But I’ve always had enough bitter — radicchio, watercress, and argula — and it’s worked out.
Do use bosc pears.
This makes a huge amount of salad, so cut the recipe in half for 6 servings.
I often prep everything early in the day so the salad is ready to be assembled, tossed, and dressed right before serving.
The original recipe calls for 1/2 tsp honey but I can’t imagine what they were thinking. With only 1/2 tsp., the vinegar is way too strong, and with the bitter greens it’s nice to have a dressing that has a little sweetness to it.
The cheese was my idea.  A bit of creaminess rounds out this salad.